We all love it when our favorite SaaS app has native integrations to other platforms or services we use, because it makes it relatively easy to build complex workflows without spending a day or two going through documentation or having to build proxy services.
That said, native integrations take a lot of time and effort to build because they have to be done right. They need to feel like a part of the platform and fuse well with other platform parts. As a result, they may take weeks or even months to complete.
To automate the SaaS integration creation process on Appsmith, we’re happy to announce the SaaS manager app. We believe that this will speed up the process of creating new integrations on Appsmith and also encourage contributions from our community.
This article will discuss how to create an integration using the SaaS Integration Manager app.
To illustrate how to do this, we’ll create an integration for 1Forge, a forex service that also provides a currency conversion API.
The required steps to create an integration are outlined below:
STEP 1: Visit the SaaS app app.appsmith.com/applications/6139b6c7dd778..
STEP 2: Click on the +Add button
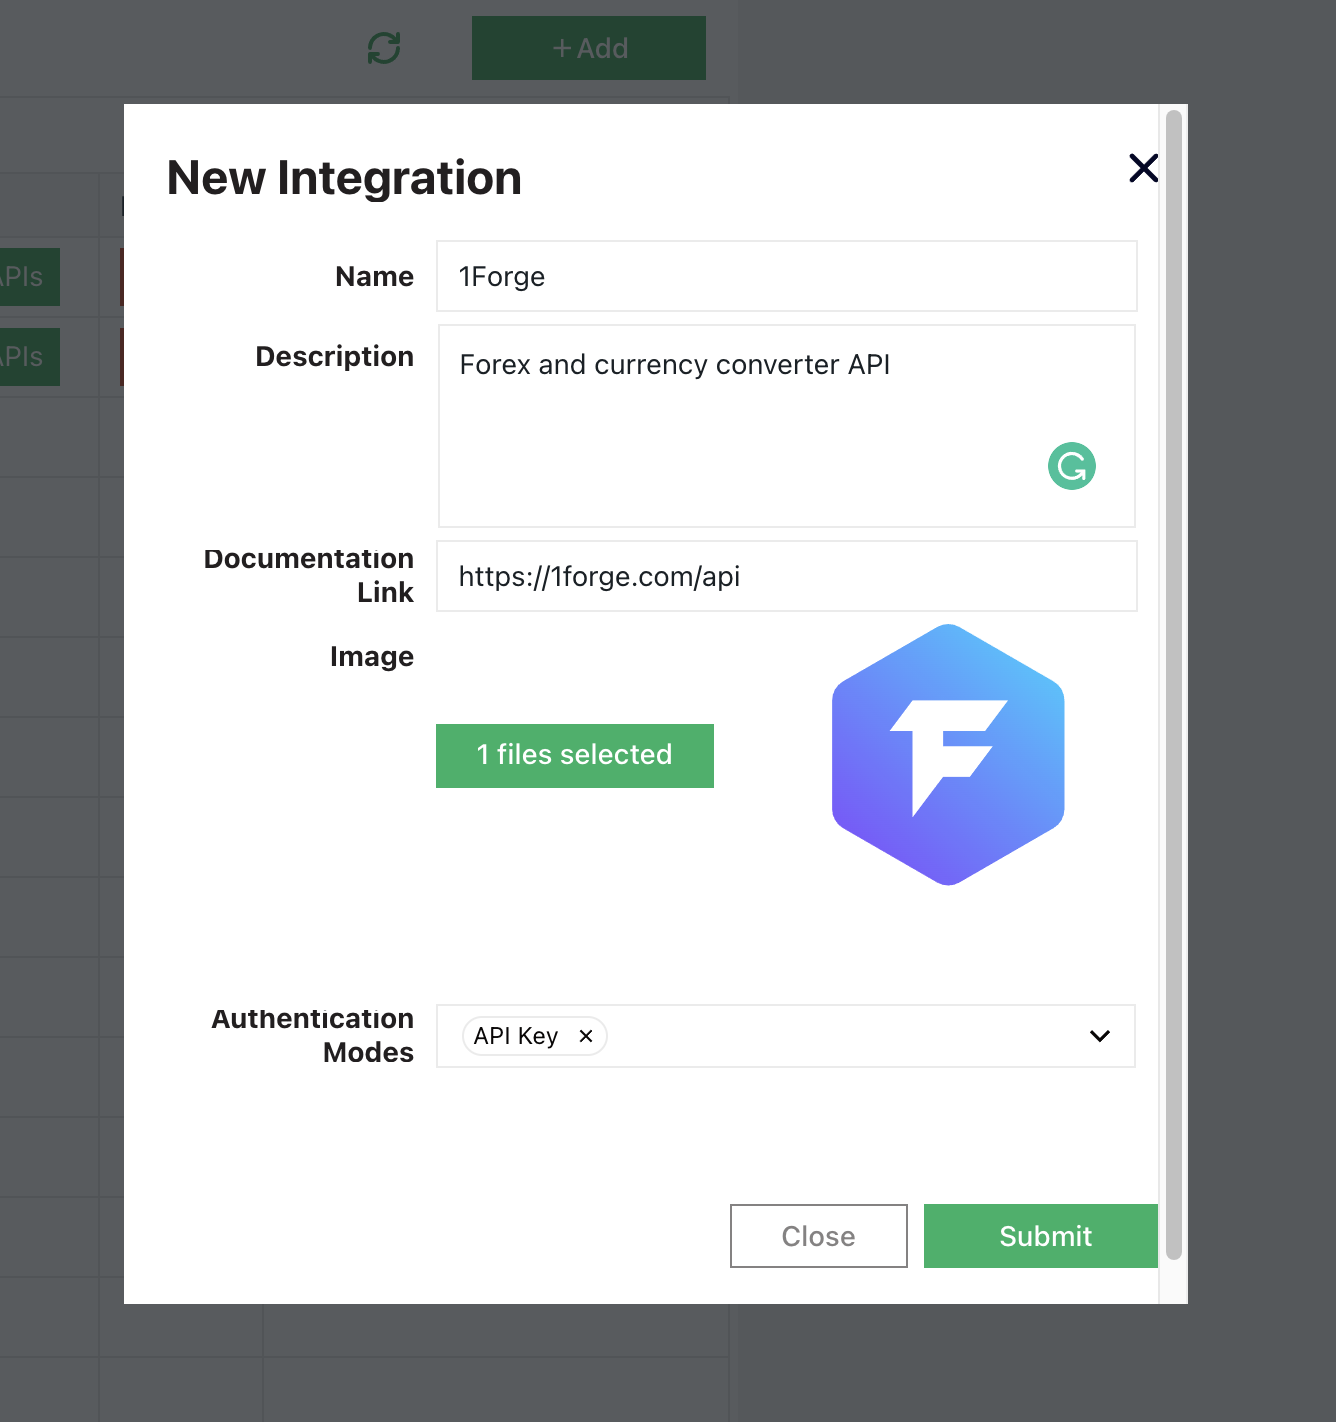
STEP 3: Fill out the form to add an integration. It’s important to add an icon as well
STEP 4: Selecting the created integration from the table would open up the integration settings panel
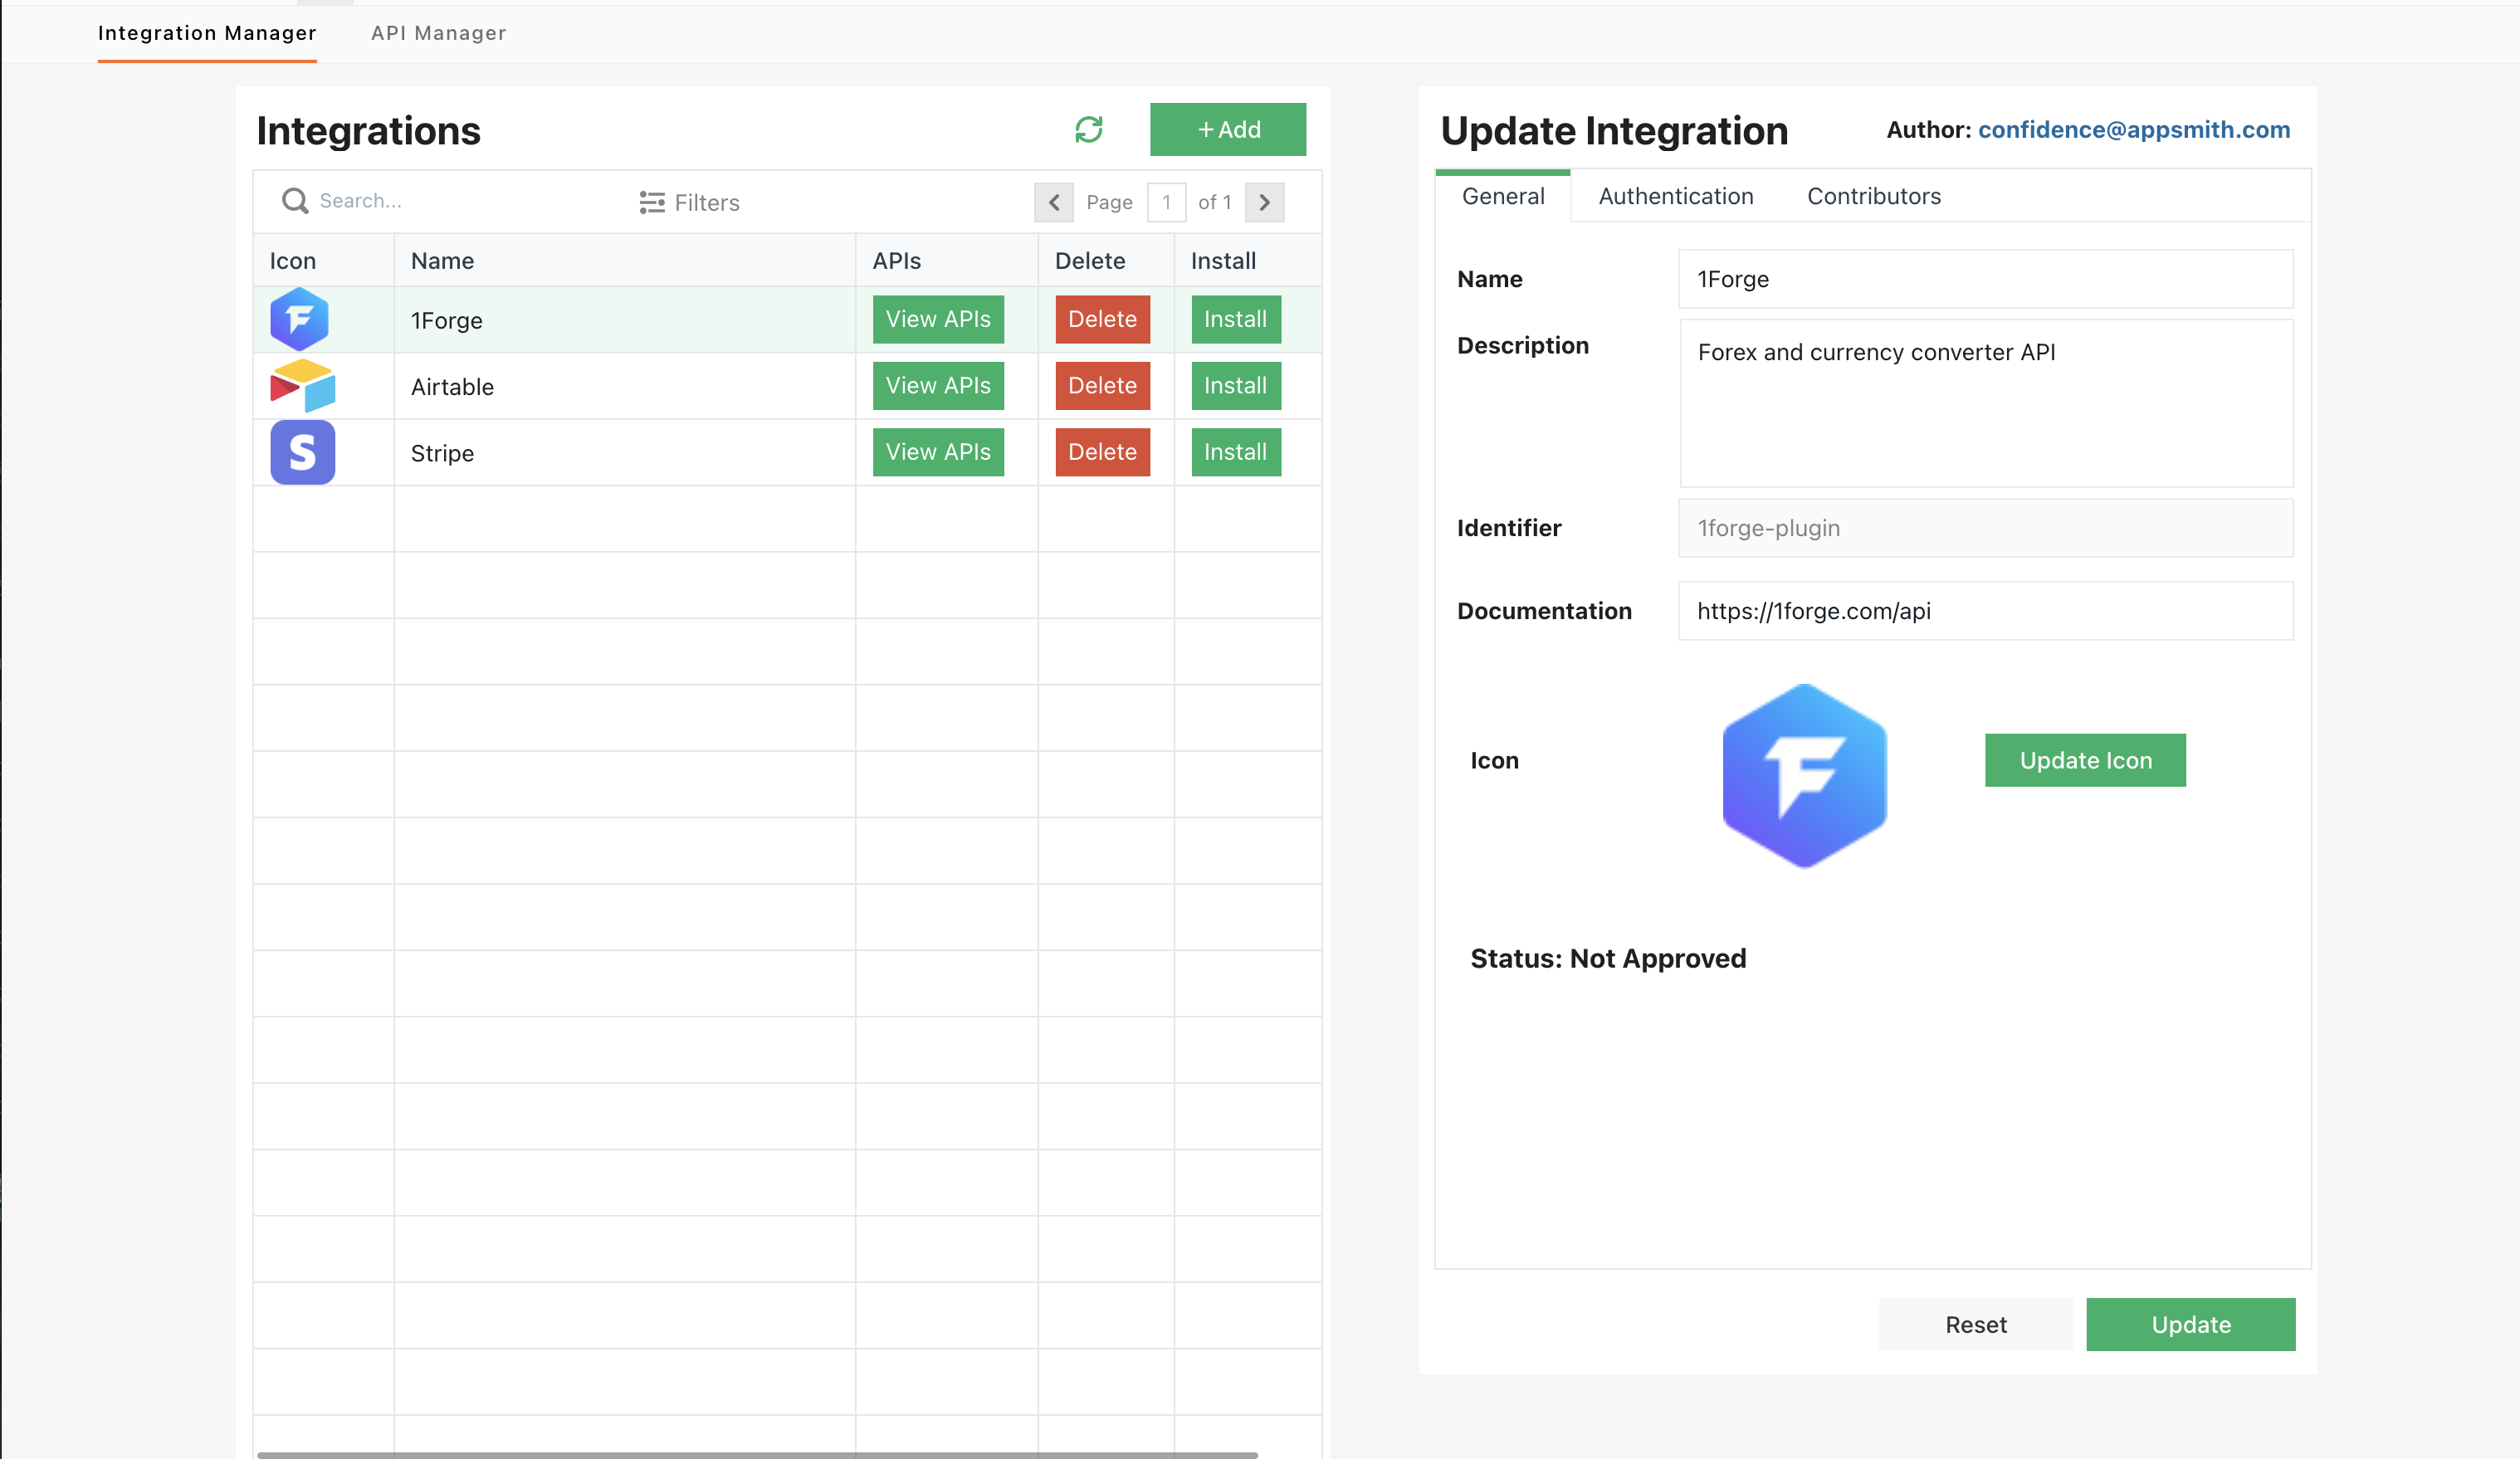
STEP 5: On the table, click on View APIs on the integration to add API endpoints
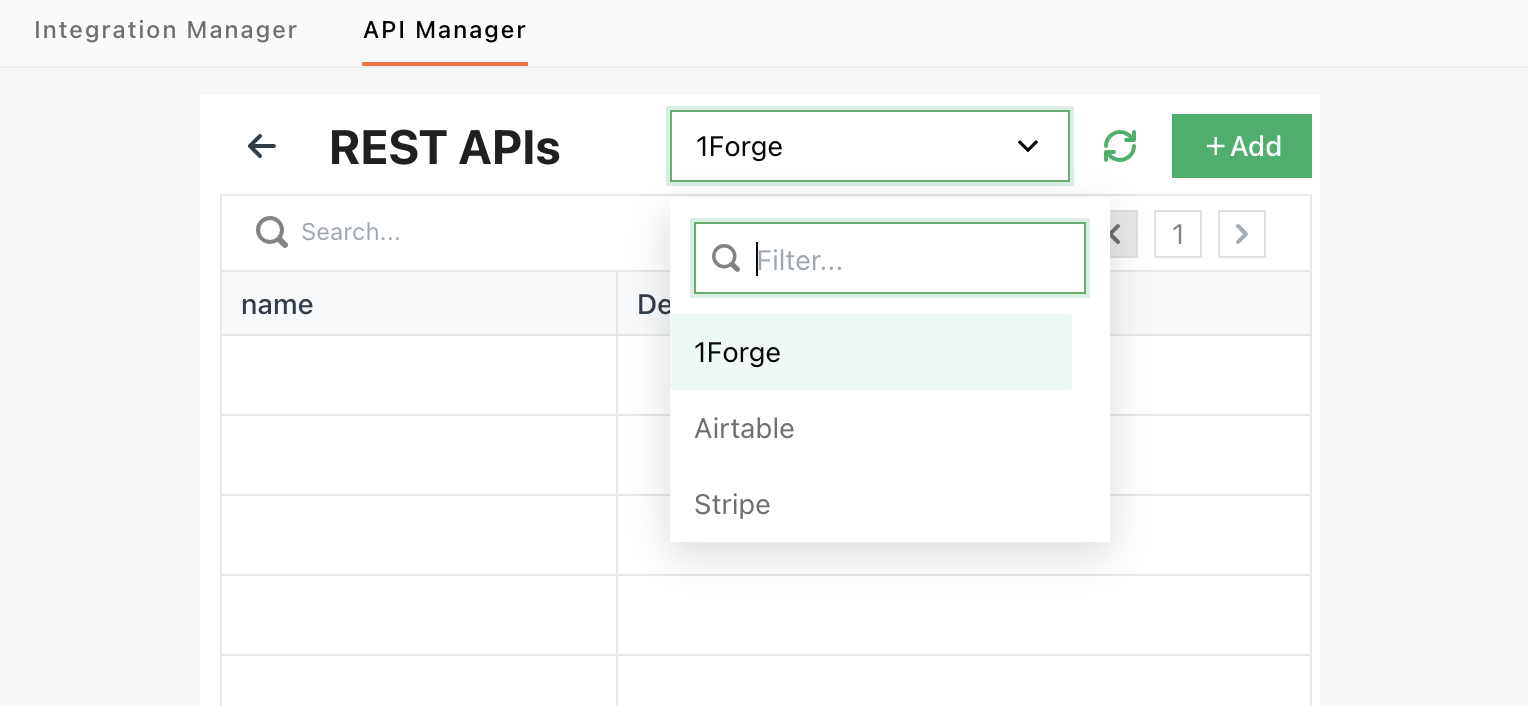
You may need to use the dropdown if the integration is not automatically detected
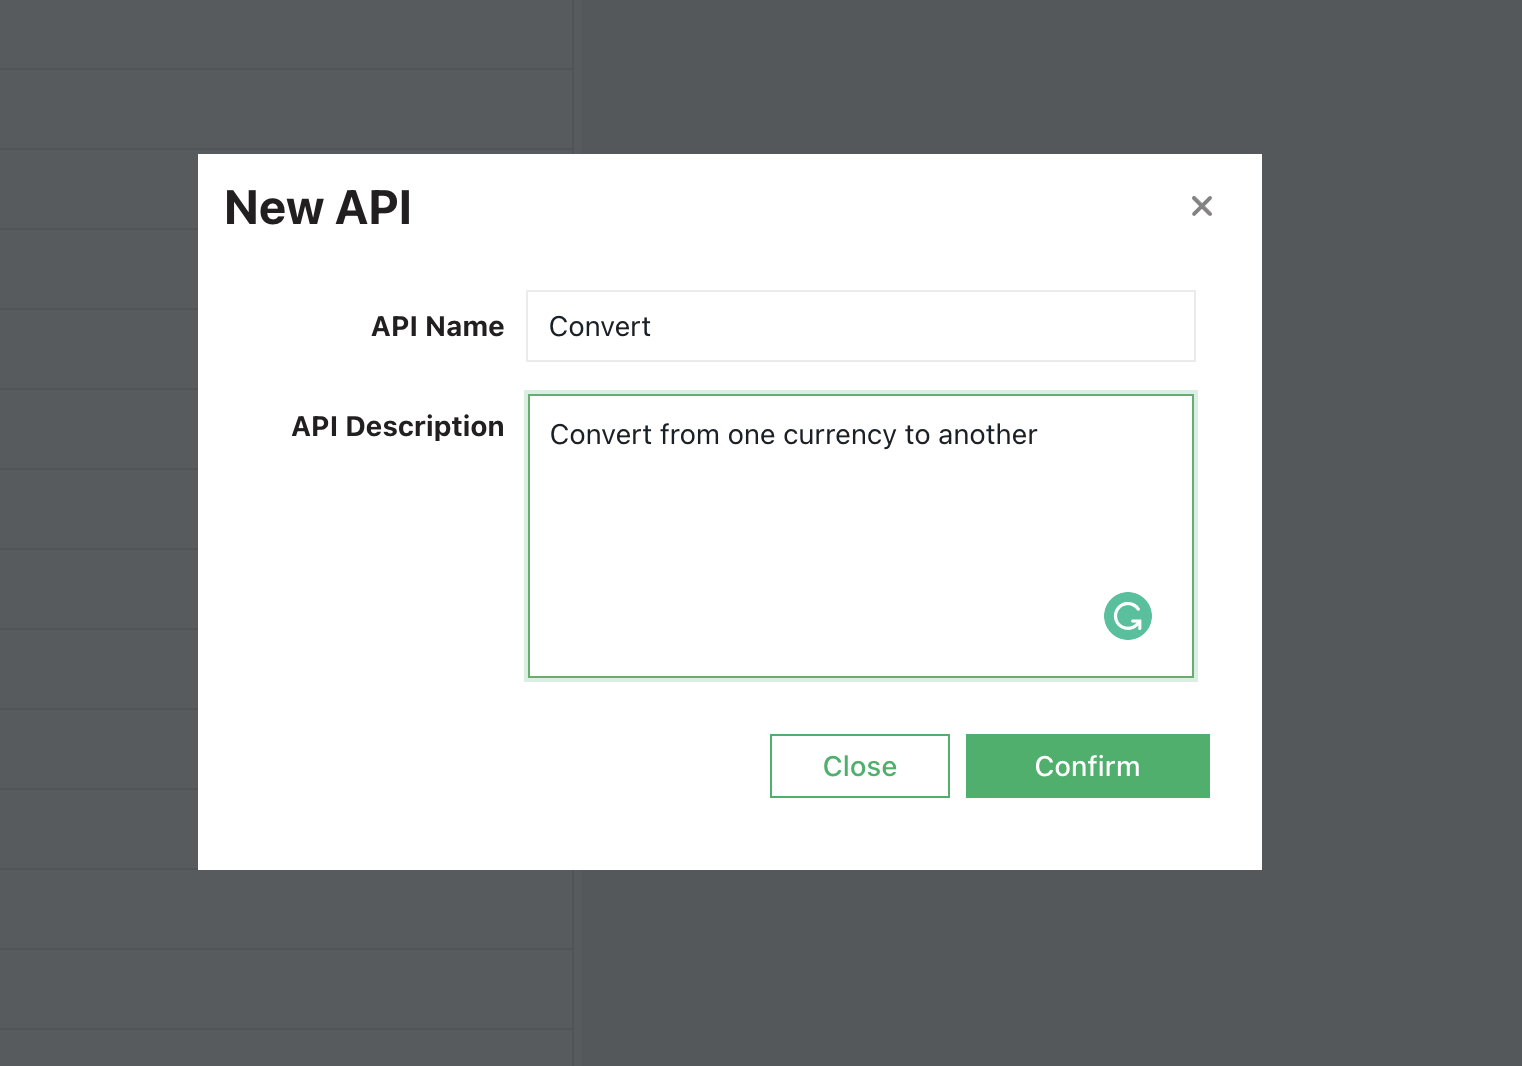
STEP 6: Click on the +Add button to add a new API. Give it a name and a description
STEP 7: Select the newly created API from the table and configure it using the settings pane
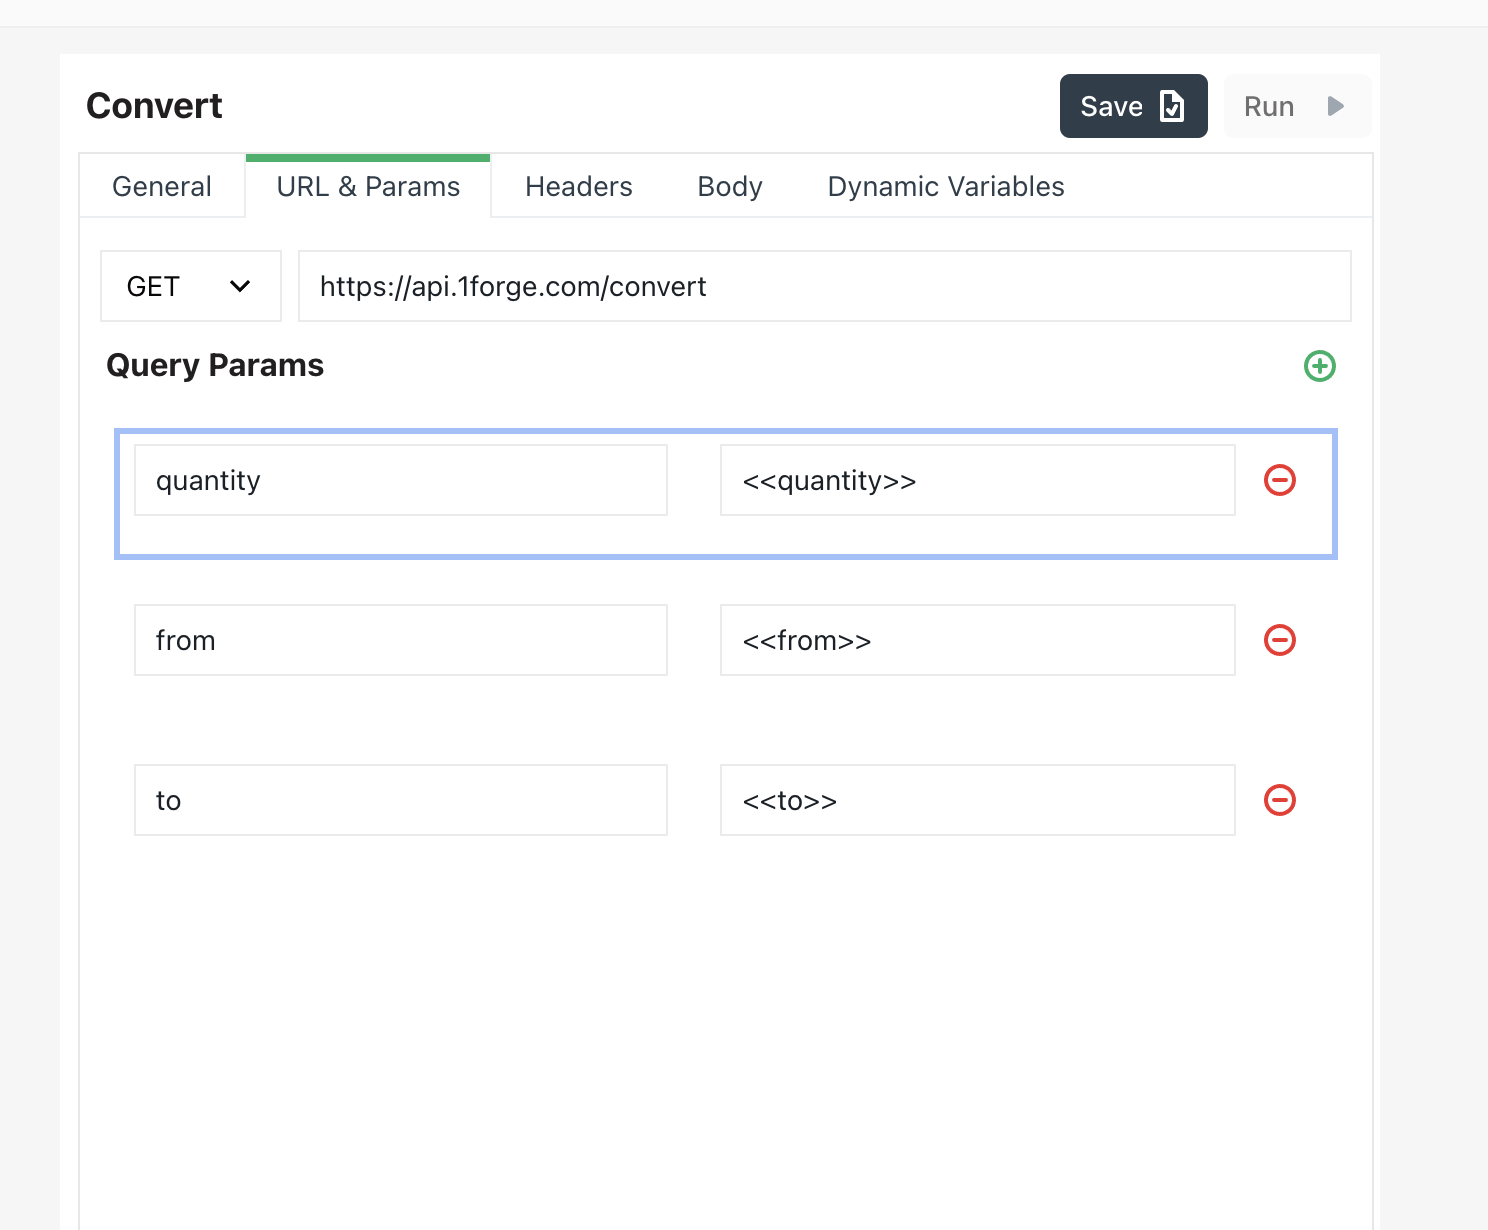
STEP 8: Head to the URL & Params tab and configure it as required. You may also need to add dynamic variables with <<>> for fields that require user input
For our sample integration, this is the URL configuration. Note that quantity, from and to require user input and thus are made into variables
STEP 9: If headers and body is required, go on to configure them in the appropriate tab
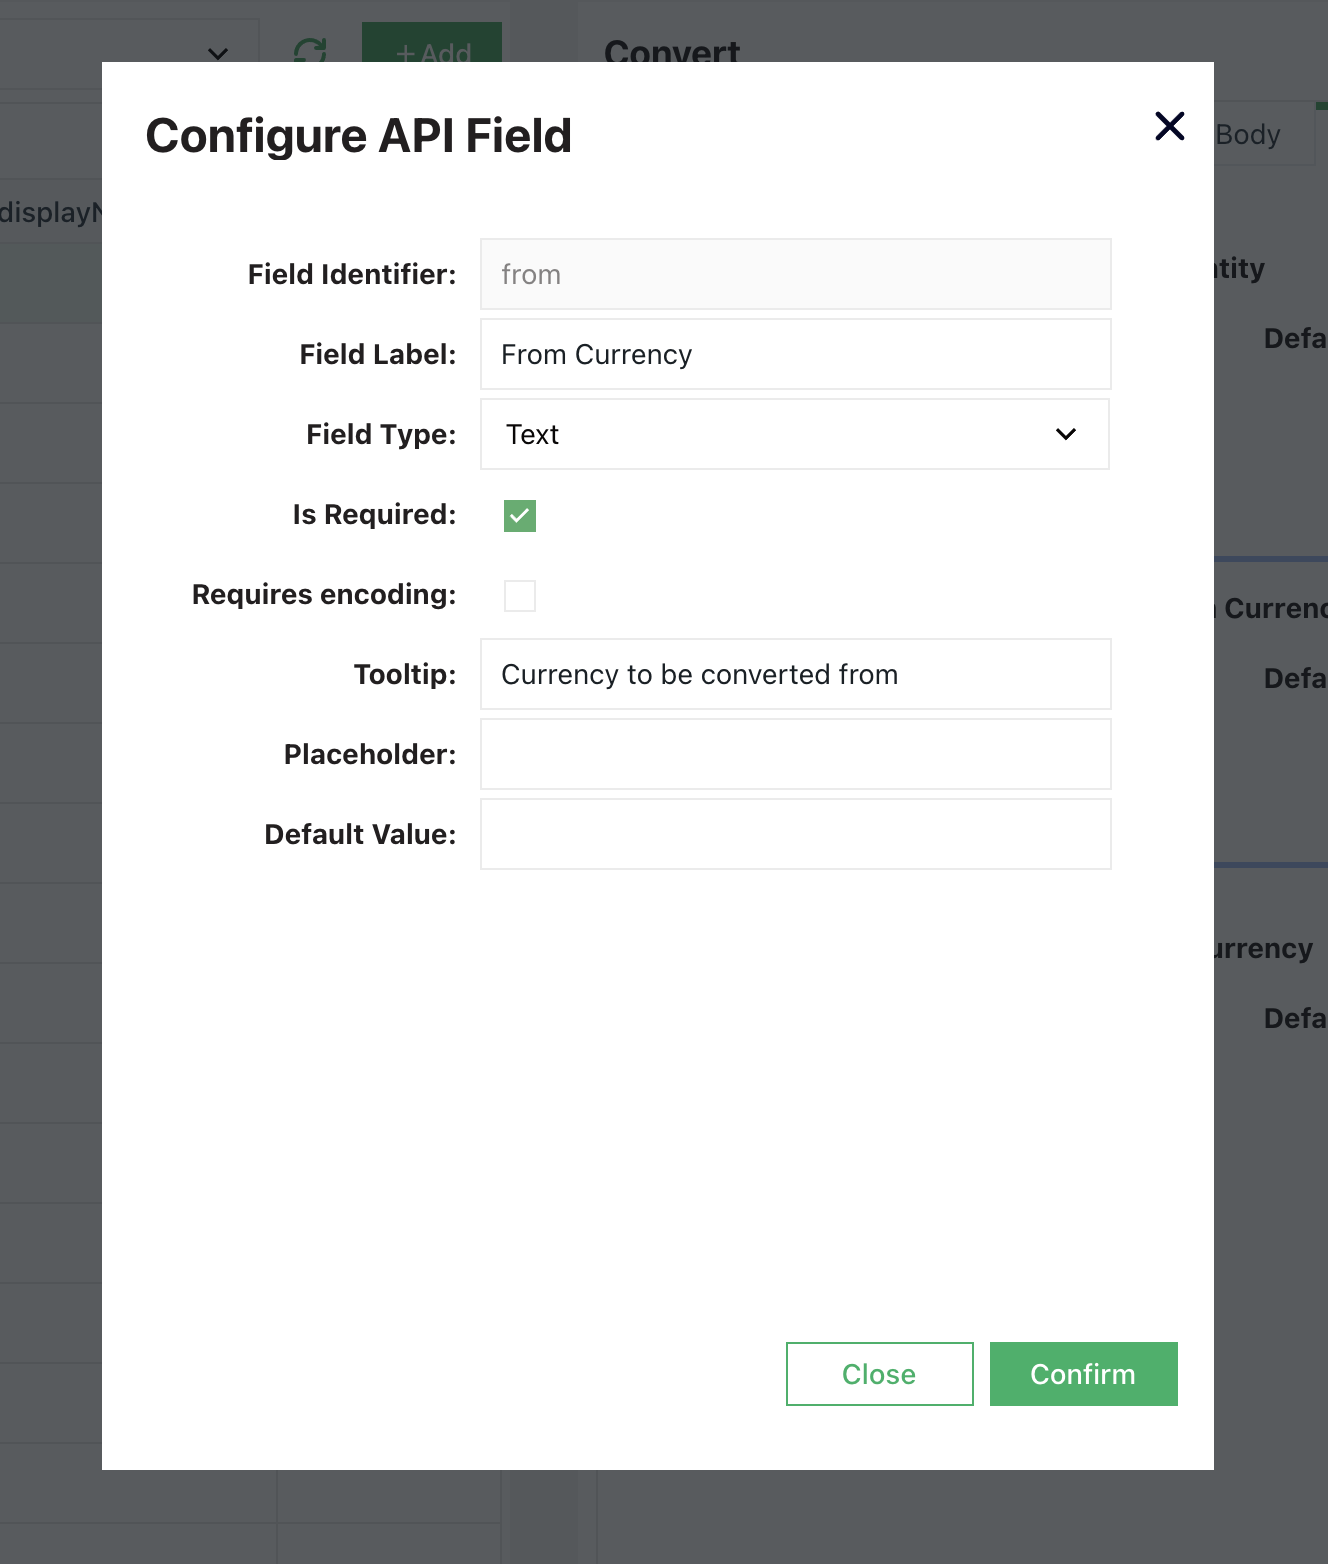
STEP 10: The Dynamic Variables tab is used to annotate variables that may have been set when configuring the URL, headers, or body. Click on the edit button on a selected variable and fill the form
Only use
PlaceholdersandDefault Valueonly when absolutely necessary i.e for specially formatted strings like dates etc.
STEP 11: Click on the Save button when done configuring the API
STEP 12: Click on the Run button to test out the newly created API
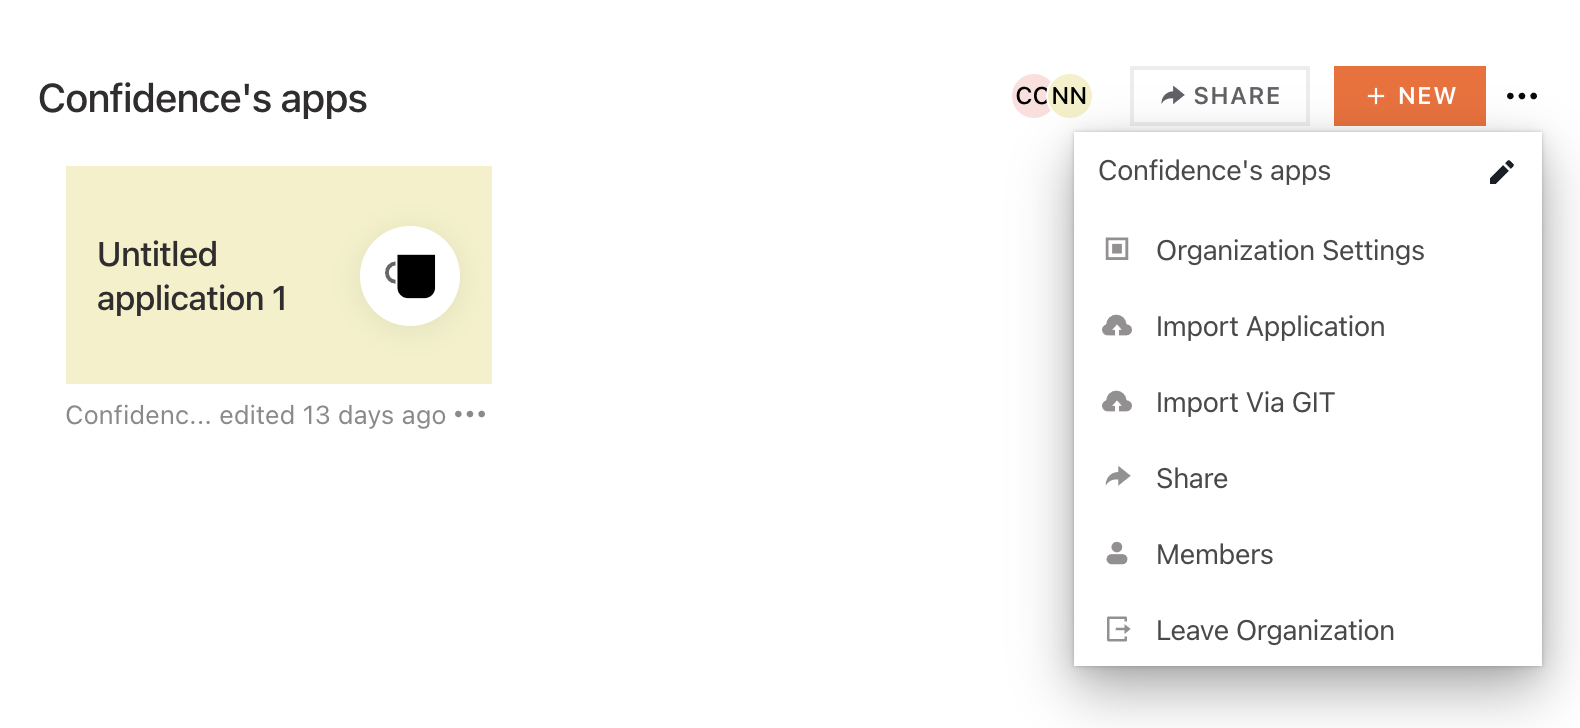
STEP 13: After adding all available APIs to the integration, head back to the main integration page and click on the Install button to install to an organization.
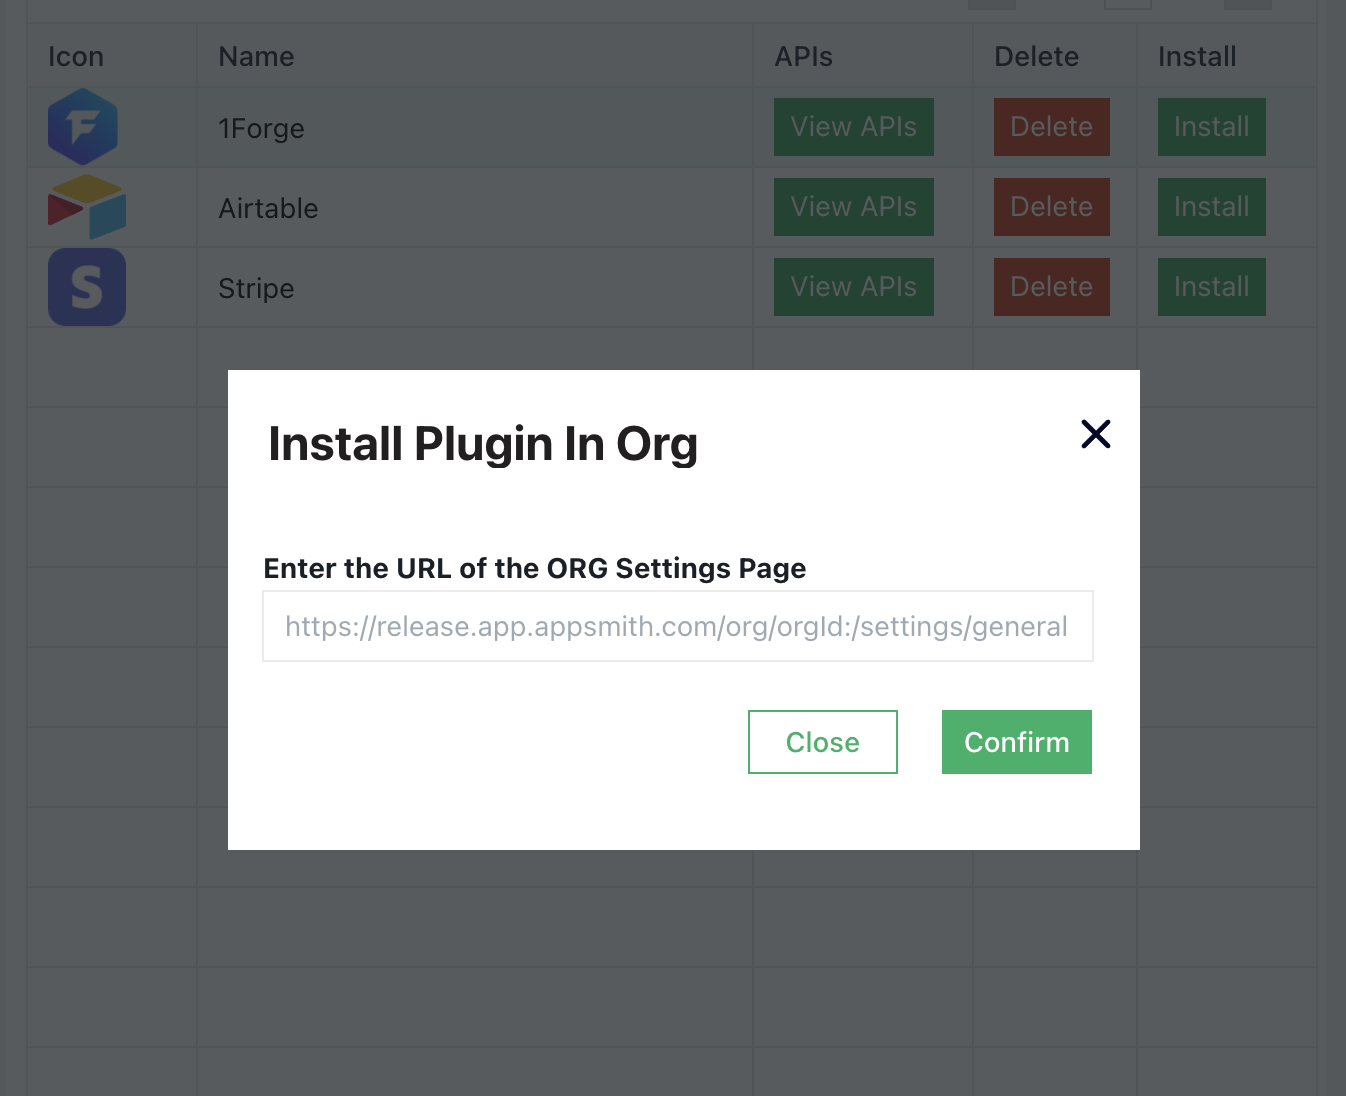
Get your organization setting URL by going to the org settings on your dashboard
Note: At the moment, you’ll need to manually re-install the integration to your organization if you make any updates to it
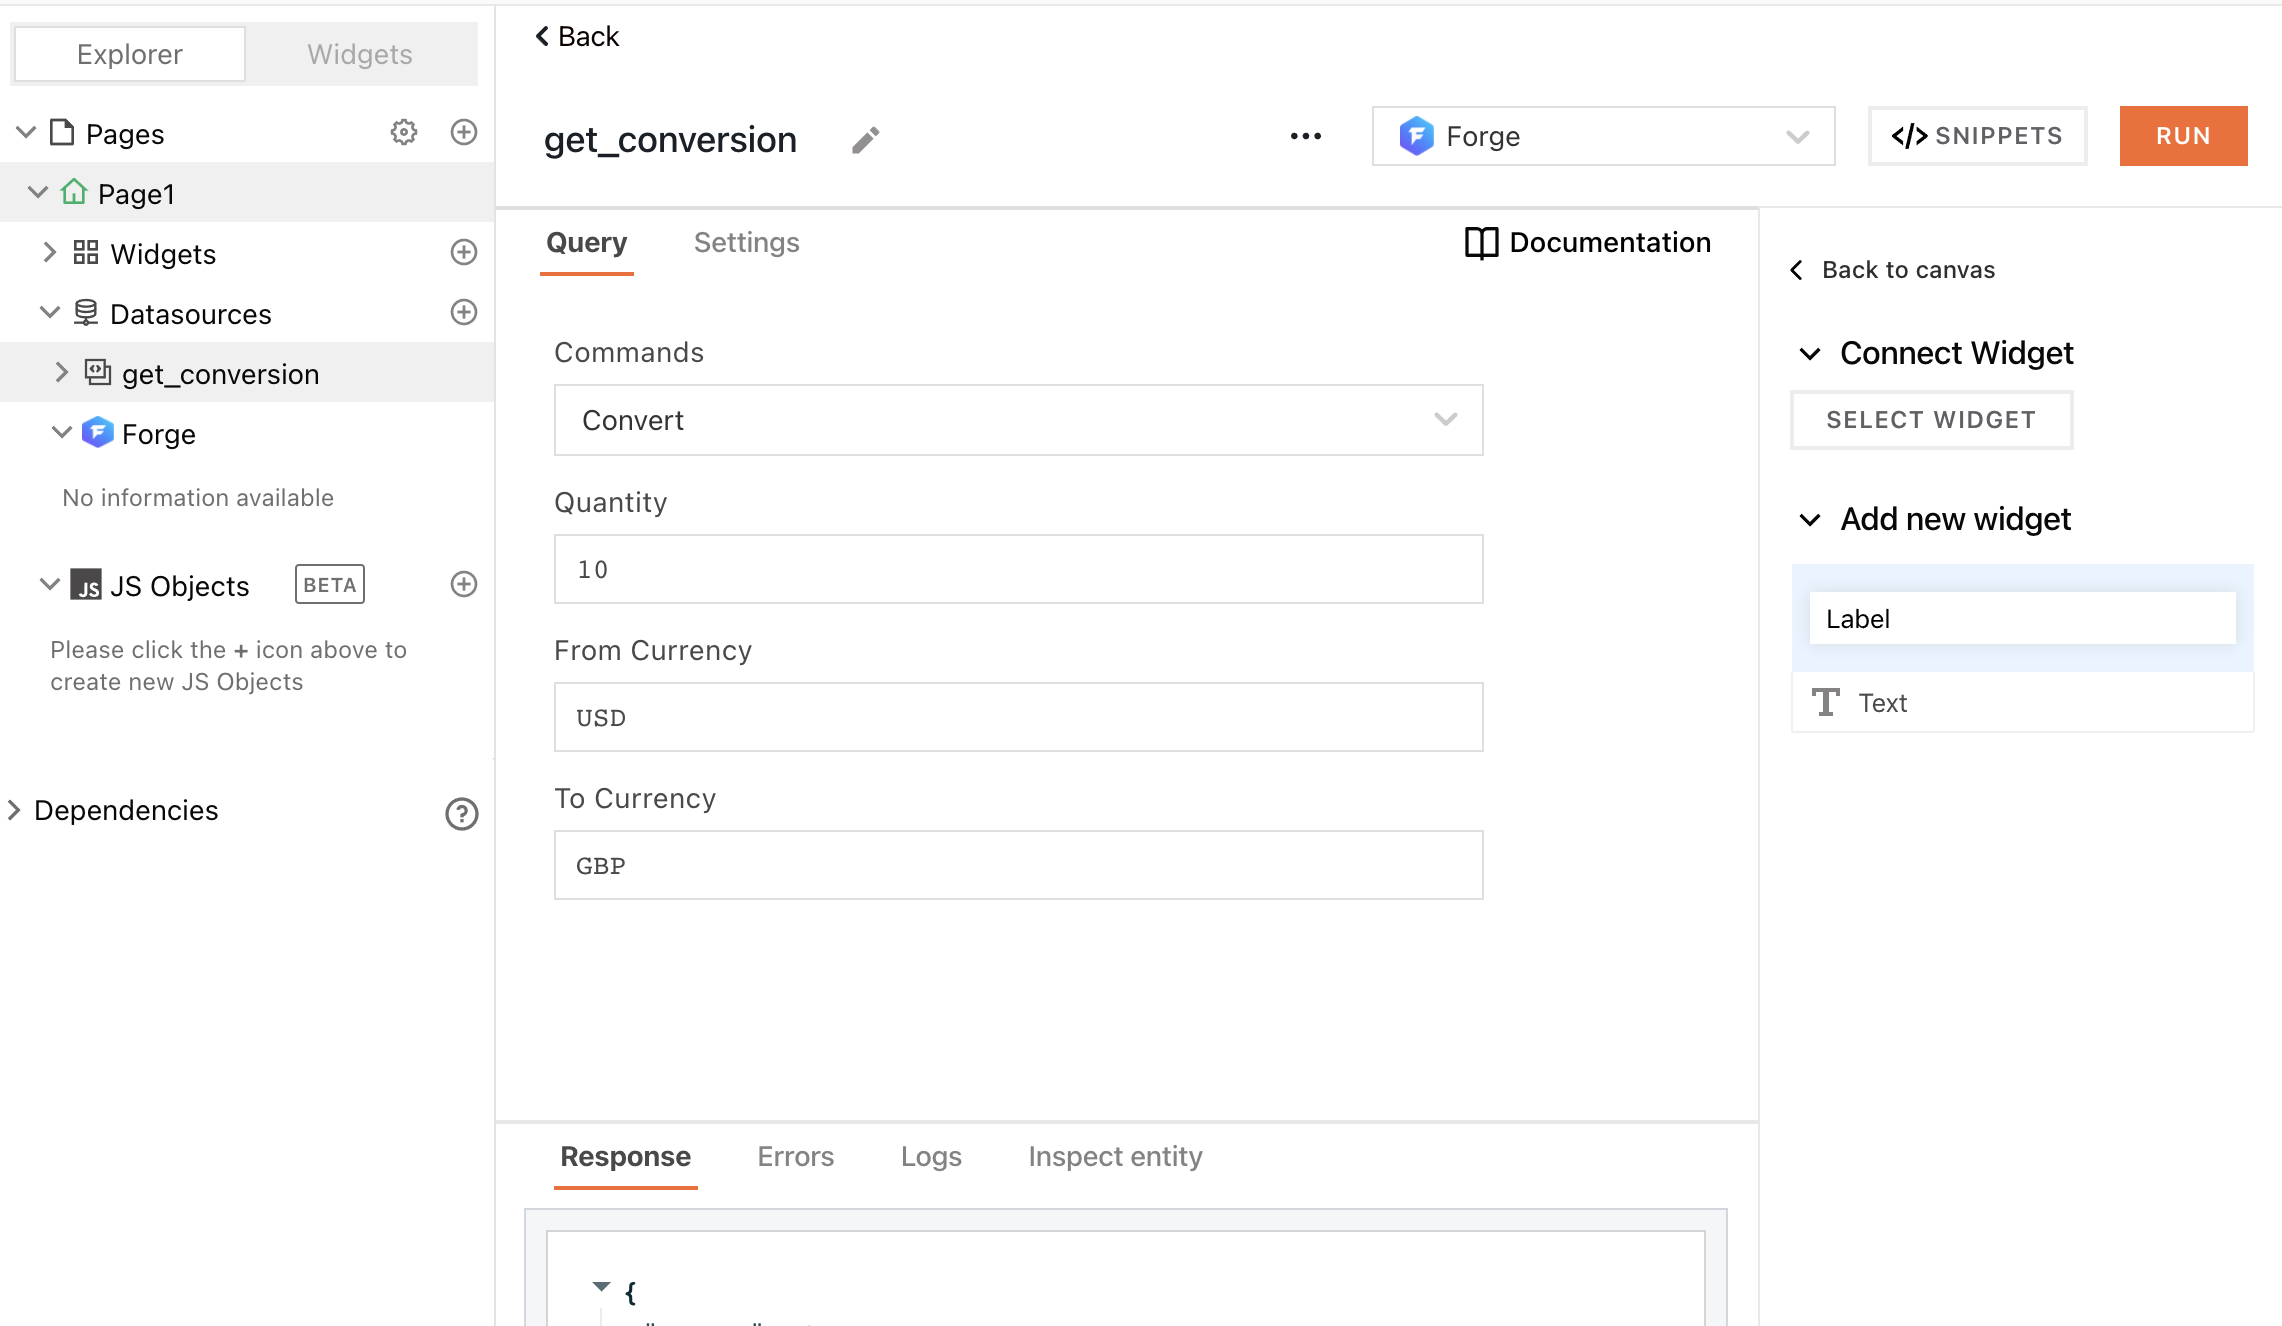
STEP 14: Go on to test the integration in your organization by building an app
