

Adding Social Authentication for Your Internal Applications Without Writing Any Code!

Not every internal application is purely internal; sometimes, several organizations and teams need to have a way to automate their operations. For example, you might want to share your expense manager app with a financial advisor and other finance teams. Because there are multiple connections, having robust user authentication is crucial for such internal applications. But, adding an authentication layer to web applications is not straight forward task. The traditional approach is to have a form-based email-password authentication, then validating them with the backend using auth tokens and redirecting them onto the application. Sometimes users and developers prefer a faster way of using social authentication. This authentication allows users to log in to your app with their already set up credentials from their selected social sites.
Today, I’ll show you how you can add social authentication with Google to Appsmith applications without writing any piece of code. To do this, we will use Xano as the backend.
Before getting started, let me give you a quick introduction about Appsmith and Xano, in case you’re new here.
Appsmith is a low-code open-source framework to build internal applications, dashboards, crud apps, and many more. With Appsmith, it’s possible to create a fully functional and custom frontend in minutes. Connecting data sources with Appsmith takes a few minutes, and you can quickly build tools on top of the database of your choice.
Xano is one of the few no-code backend platforms that provide a comprehensive Database test environment, which allows you to easily switch between production and test data. Xano also provides API request history and easy ways to monitor CPU Usage and Database Record utilization.
Alright, now let’s get into it.
Getting Started: Creating an Account on Xano and Appsmith
The first step is to create accounts on Xano and Appsmith. In this tutorial, I’ll use the cloud versions on both Appsmith and Xano.
Note: Since Appsmith is open-source, you can always use it locally or self-host it on your own servers using Docker.
- Navigate to appsmith.com and sign-up for a new account if you’re a new user or login to the existing one.
- Navigate to xano.com and sign-up for a free account on the other tab. Ensure you select the Google authentication in the auth types during the onboarding process.
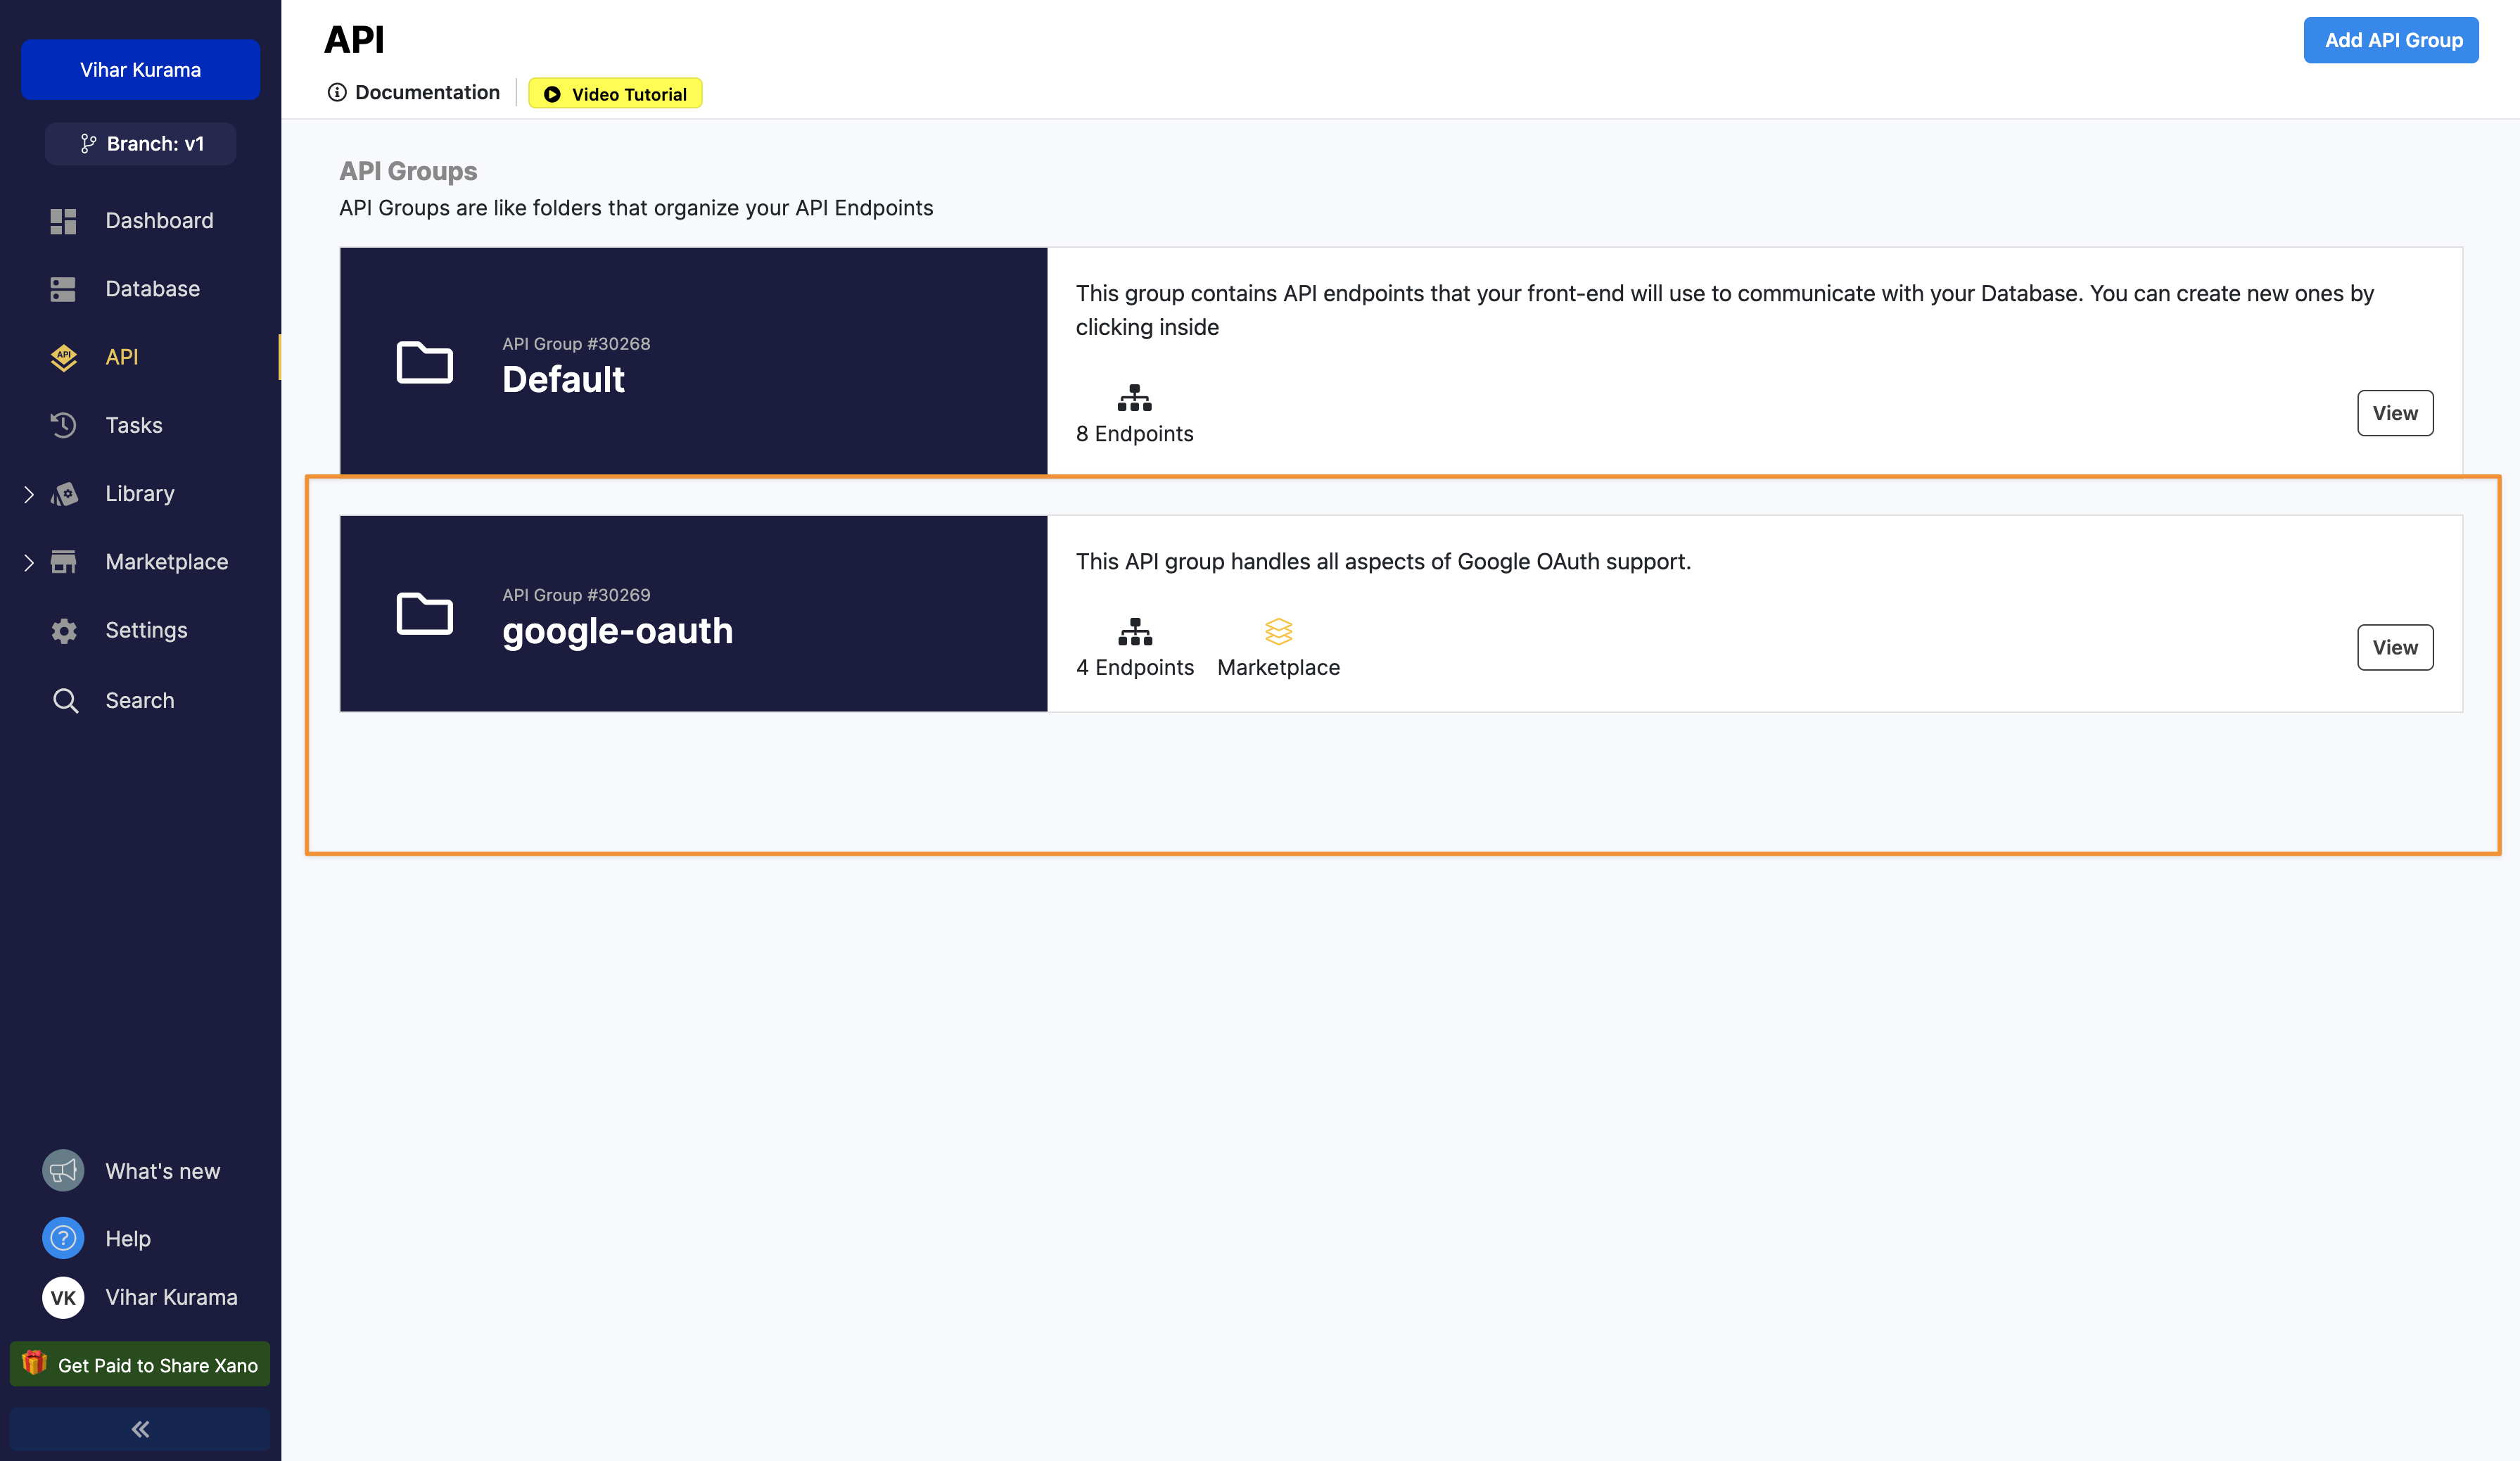
After the Xano app is created, navigate to the API page in the dashboard, we’ll see two API groups; one is Default, and the other is google-oauth.
- Before we start to use them, let’s first get our OAuth credentials from Google, for this, you’ll need to open Google Console, and create your API credentials. Here’s what it would look like:

If you’re new to creating social auth keys on Google console, you can follow these steps from the documentation here.
- Now you will need to navigate to the Settings tab on the Xano dashboard and hit manage on the Environment Variables. Under this, we’ll see google_oauth_client_id google_oauth_secret variables. Here, copy the credentials from the Google console.
Building the UI on Appsmith
Appsmith comes with a vast array of pre-built UI components: widgets. These can be fully customisable to help you build good-looking applications. For this application, I’ll keep the UI clean and simple, however, you can always add more to your applications based on your use-cases.
Now follow the below steps:
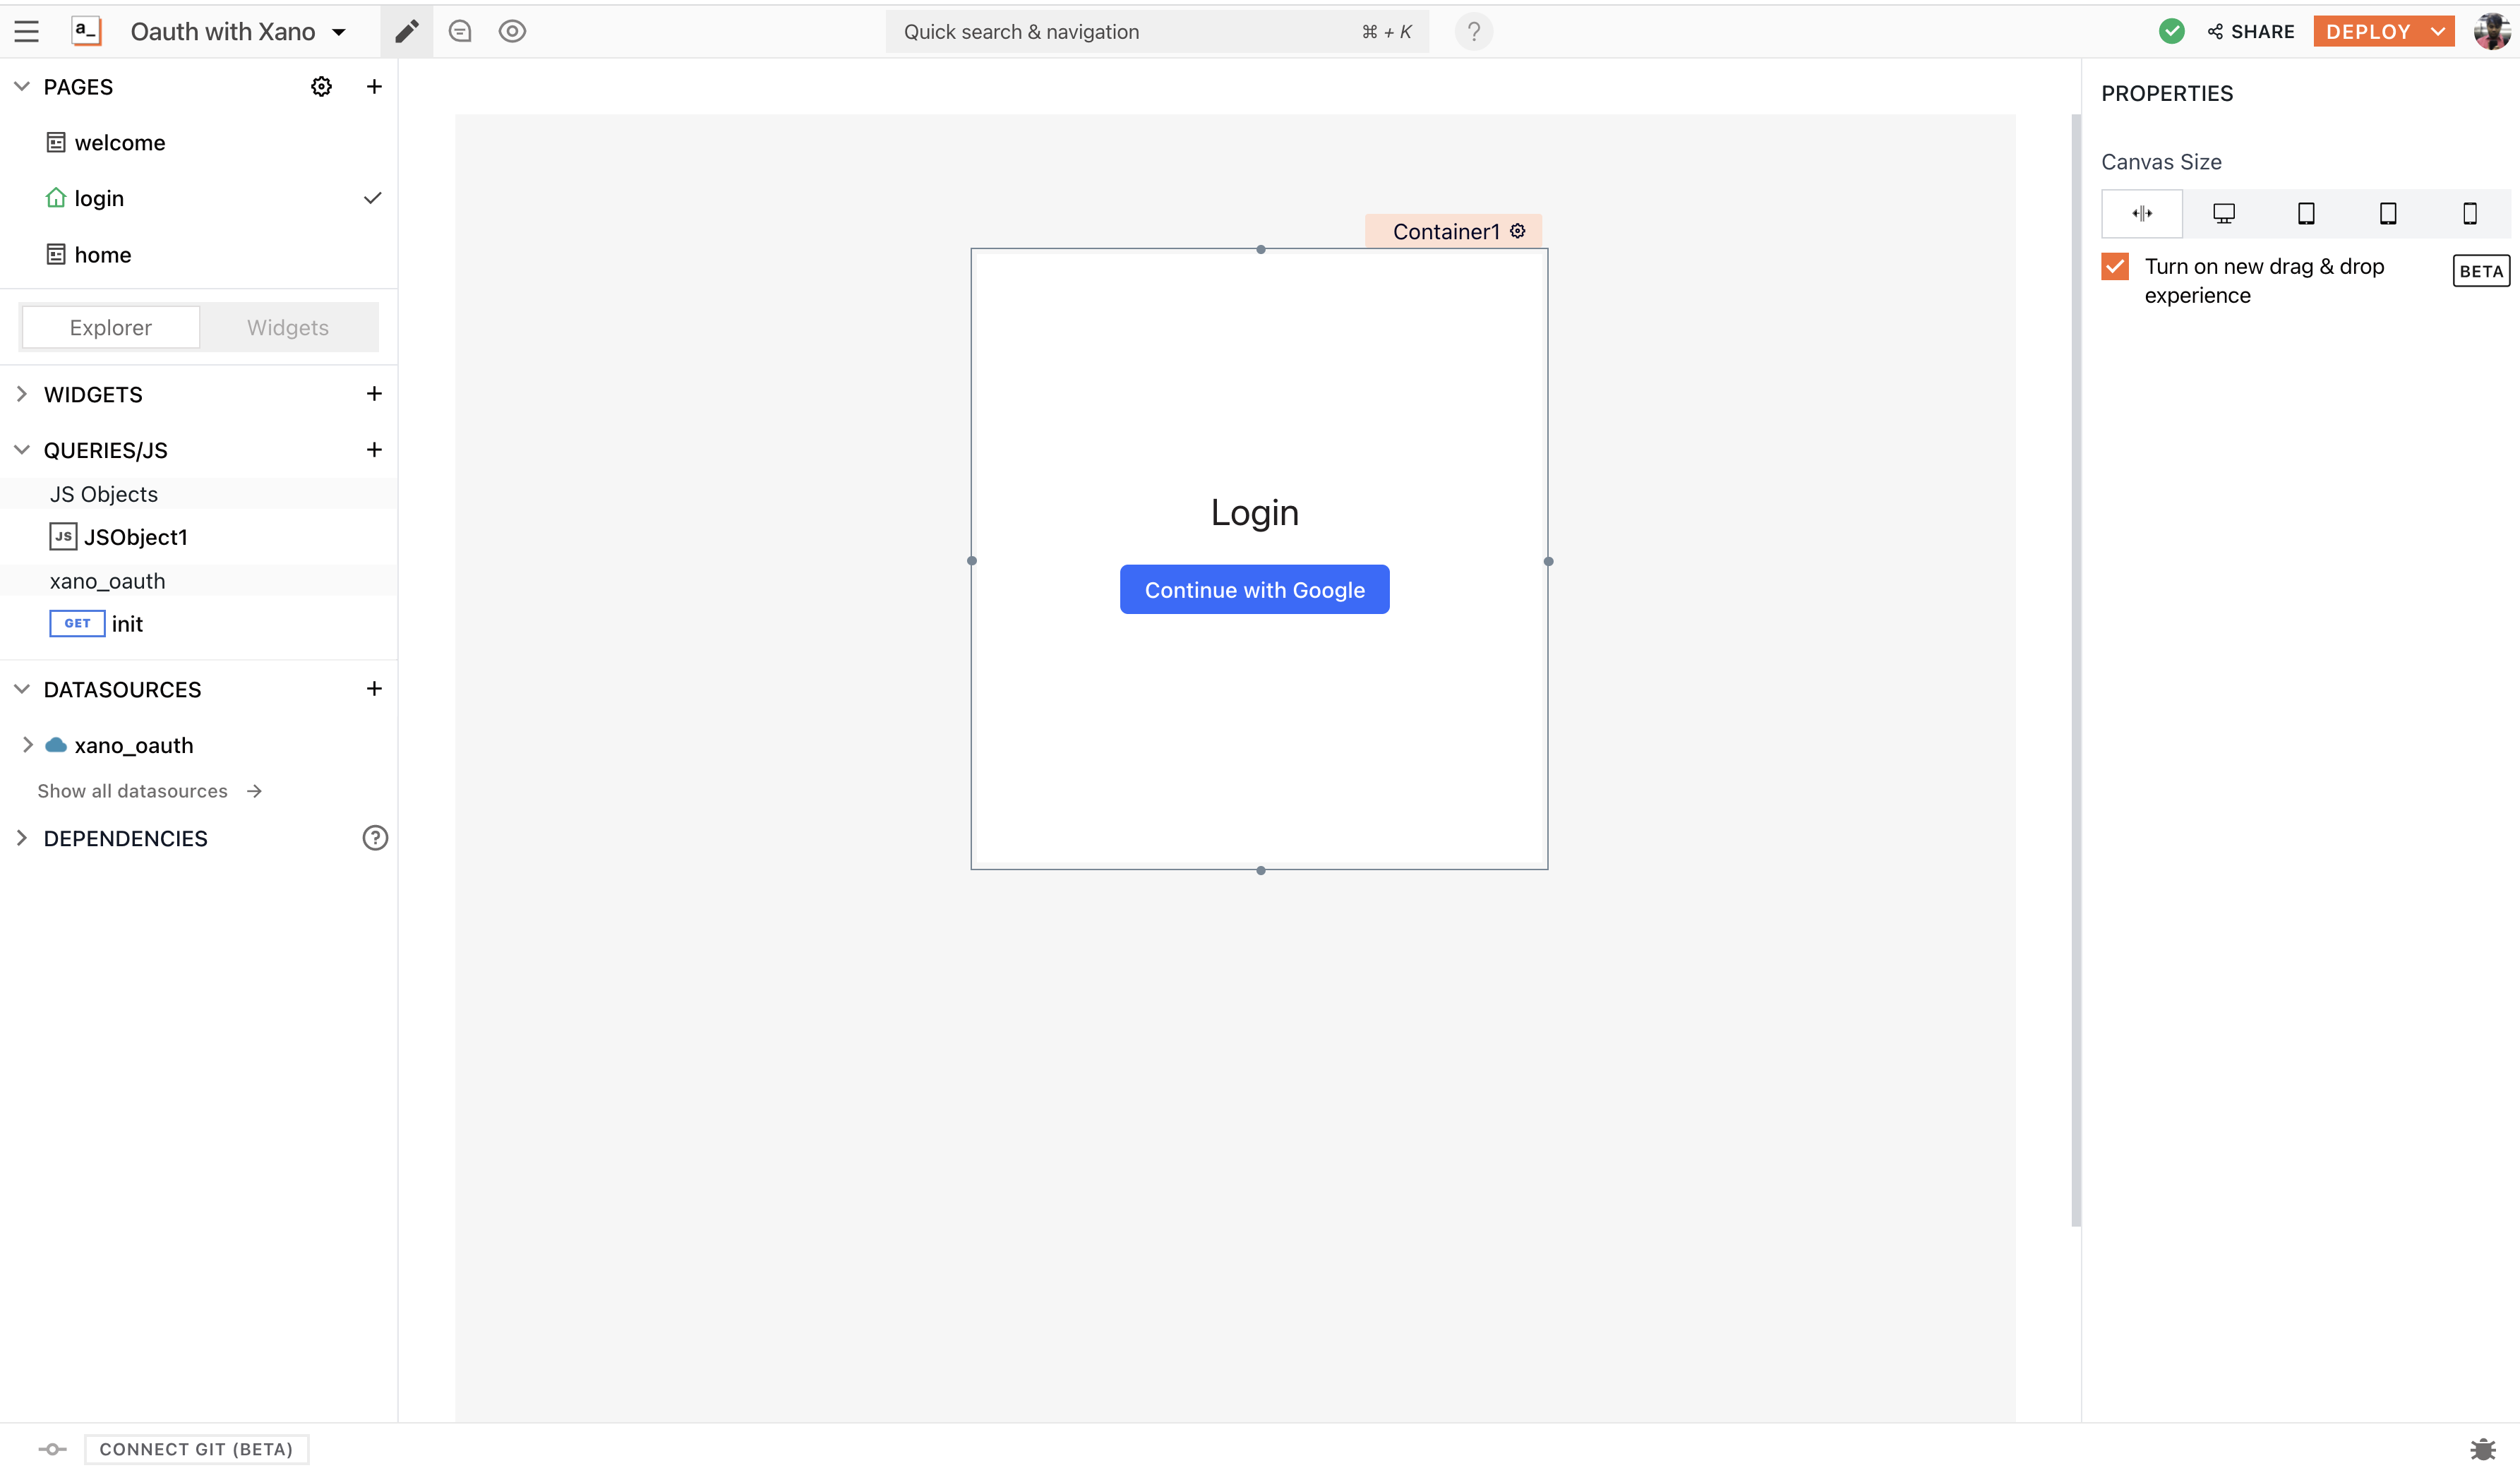
- Create a new application on Appsmith, and choose “Build from scratch using drag and drop”.
- Rename the Page name from Page1 to login by clicking on the existing page.
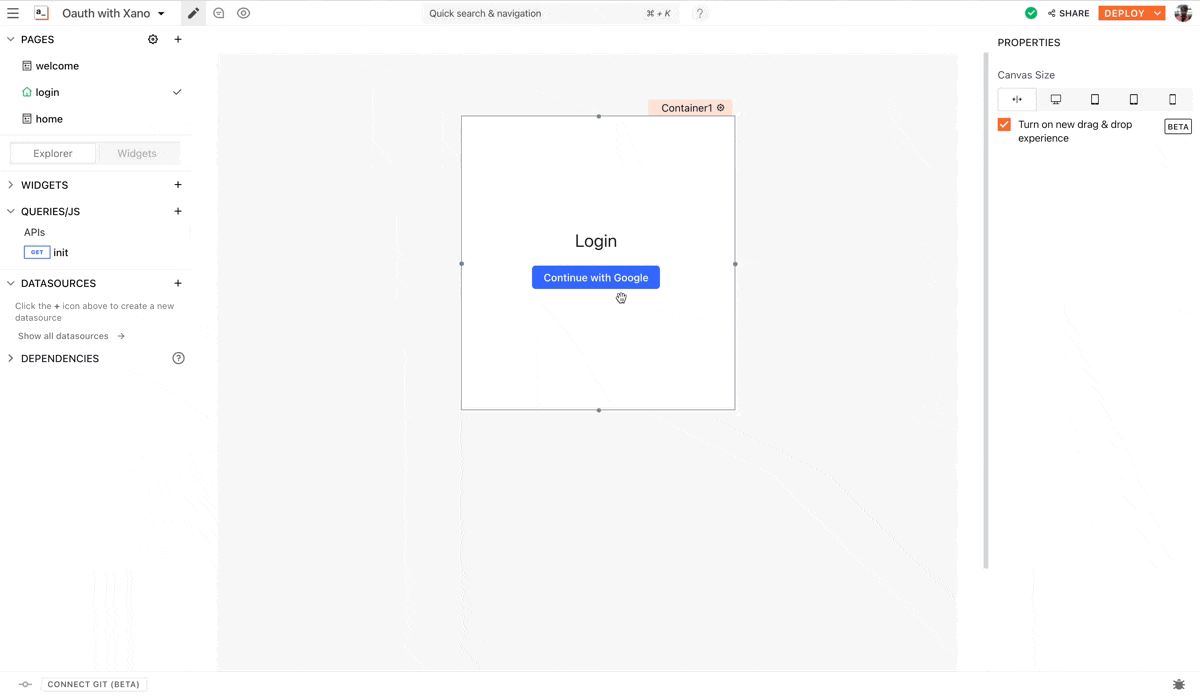
- Click on the + icon next to widgets from the side bad and drag and drop a container widget onto the canvas.
- Now, add a button widget and a text widget inside the container to create an authentication form.
- Click on the text widget and set the Text property to
Log in, similarly set the button label toContinue with Google.
Here’s a screenshot of the form that’s built on Appsmith:
Initializing the Authentication Flow
To initialize the authentication process, we’ll need to configure APIs on Appsmith from Xano, to do this follow the below steps:
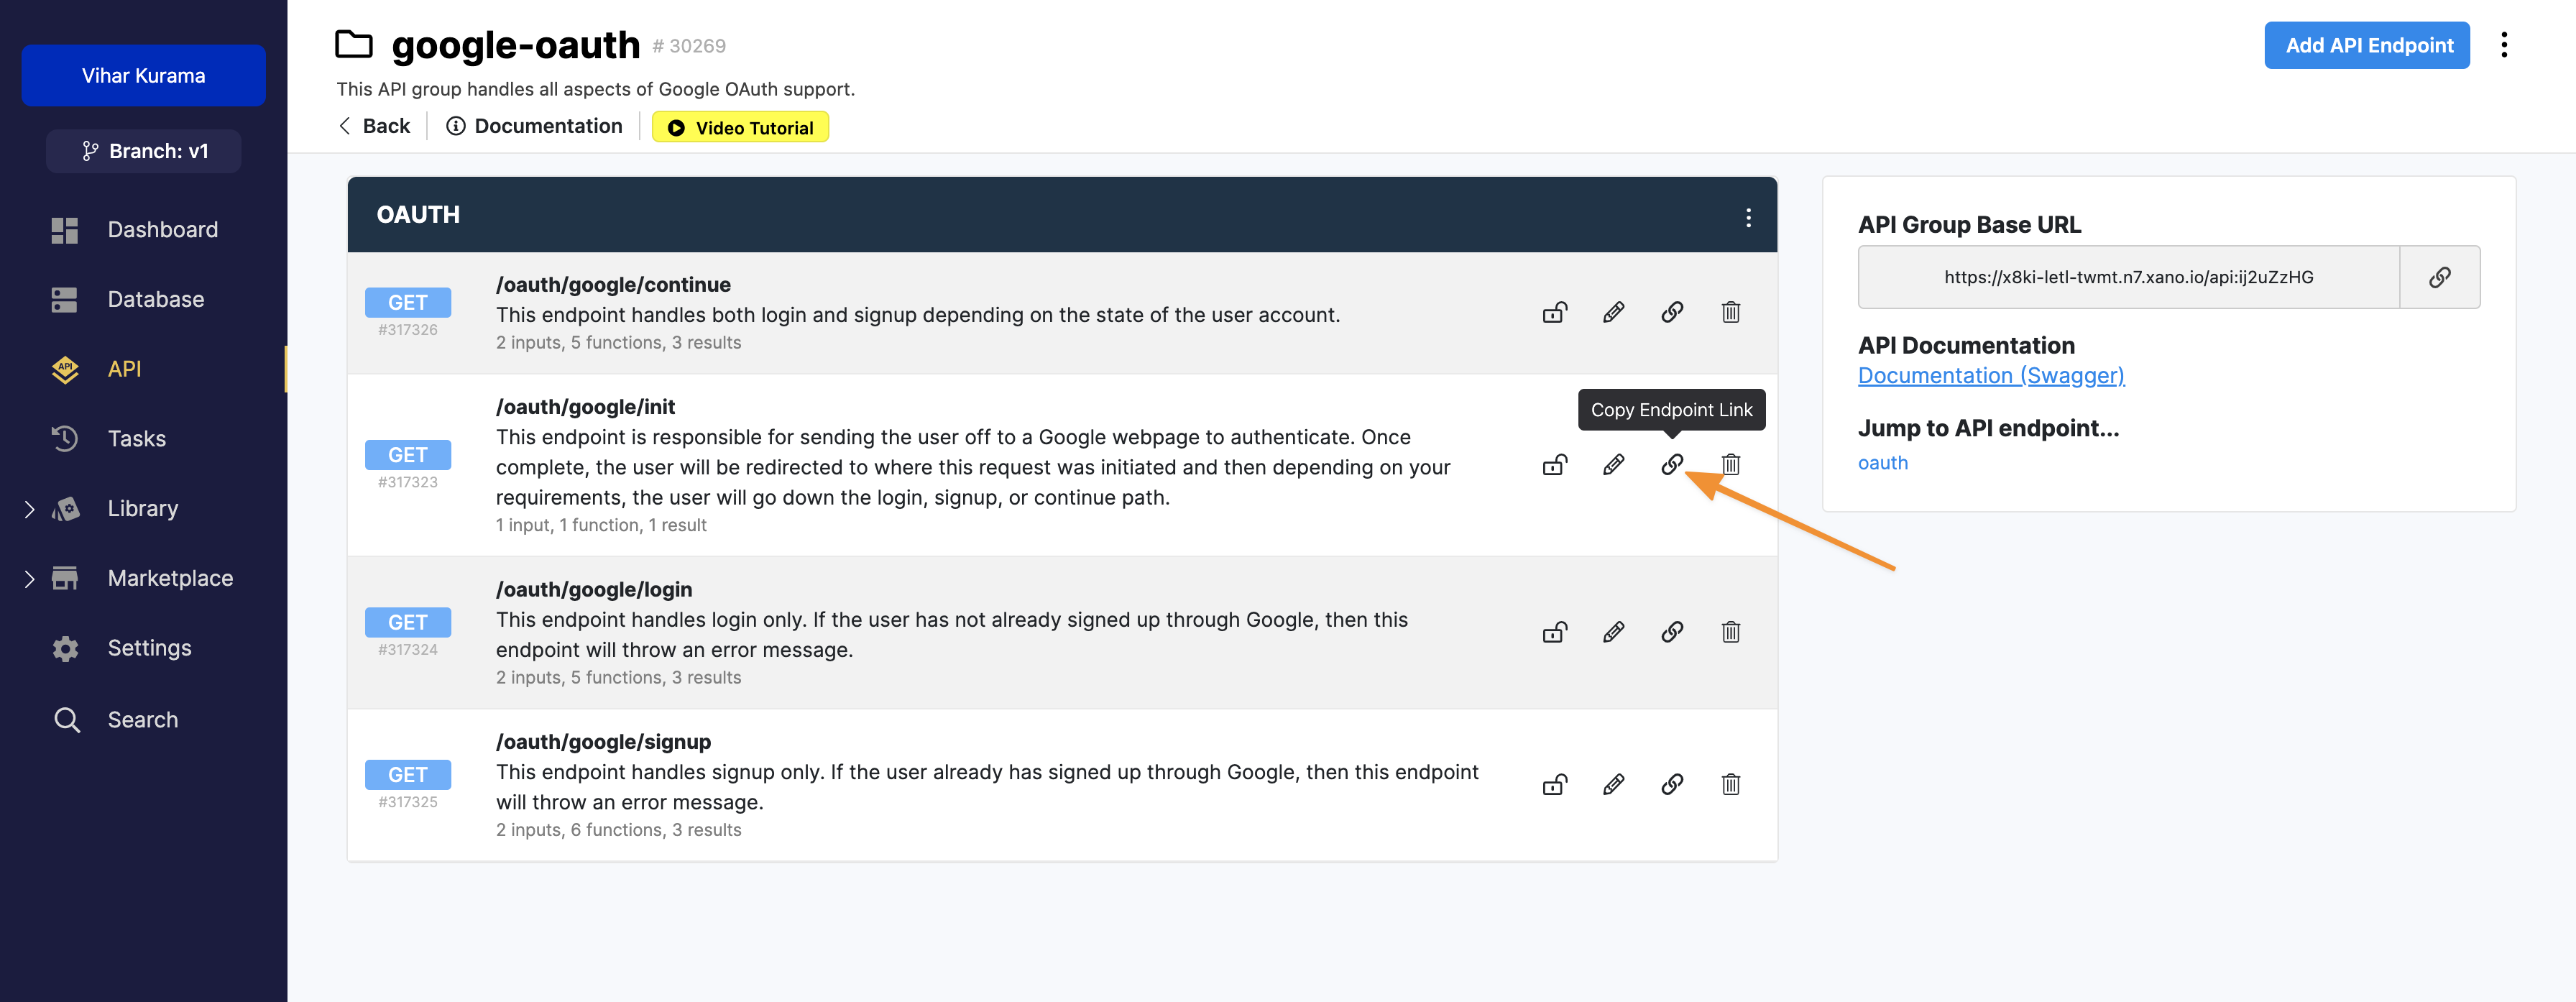
- Open the Xano dashboard, and navigate to the Settings tab; now click on the google-oauth API group.
- We should see all the APIs that we can consume to finish our authentication, and yes, all these are automatically generated without writing any code, thanks to Xano.
- Now, select the oauth/google/init API and copy the endpoint.
- On Appsmith, click on the + icon next to Datasources and create a NEW API.
- Rename the API endpoint to init, and paste the copied URL.
- This endpoint expects an
redirect_uri, this basically, redirects to another page if the authentication is successful. So, we’ll need to create a new page on Appsmith, and copy it’s URL to the redirect_uri param on the init API. - Now create a page on Appsmith, by clicking on the + icon next to the Pages on the sidebar. Rename the page to welcome.
- Copy its URL, navigate back to login and paste the URL in the redirect_uri param, here’s how the API should look like:

- We’ll need to add the Redirect URL onto the google console so as to redirect from Google Auth after the redirection is successful.

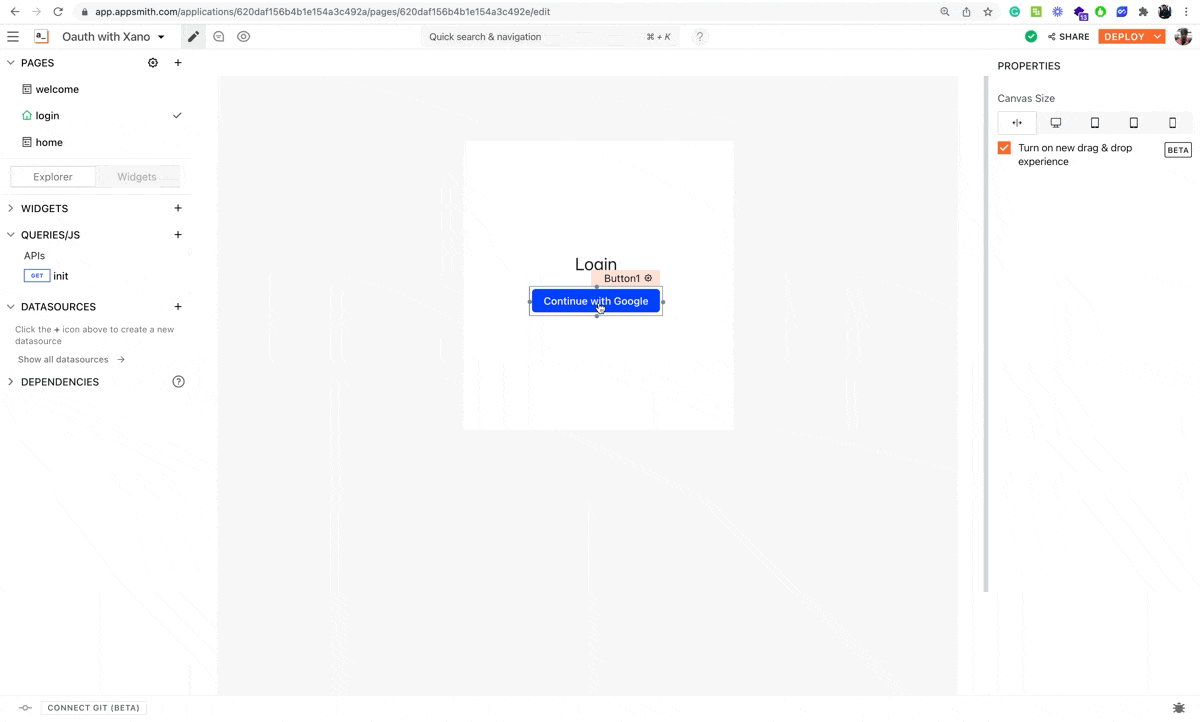
There’s one last thing, we will need to set the button onClick action to JS and copy the following:
{{init.run(() => navigateTo(init.data.authUrl, {},'SAME_WINDOW'), () => {})}}
This code snippet will navigate to the redirectURI that’s requested from the init API call, which is obviously to the welcome page.
Note: The auth endpoint from Xano we used in this section is responsible for sending the user off to a Google webpage to authenticate. Once complete, the user will be redirected to where this request was initiated and then depending on your requirements, the user will go down the login, signup, or continue path.
Next, we’ll need to configure the continue flow to get details from the user and manage if the user is a first time user or an existing user.
Configuring the continue Authentication Flow
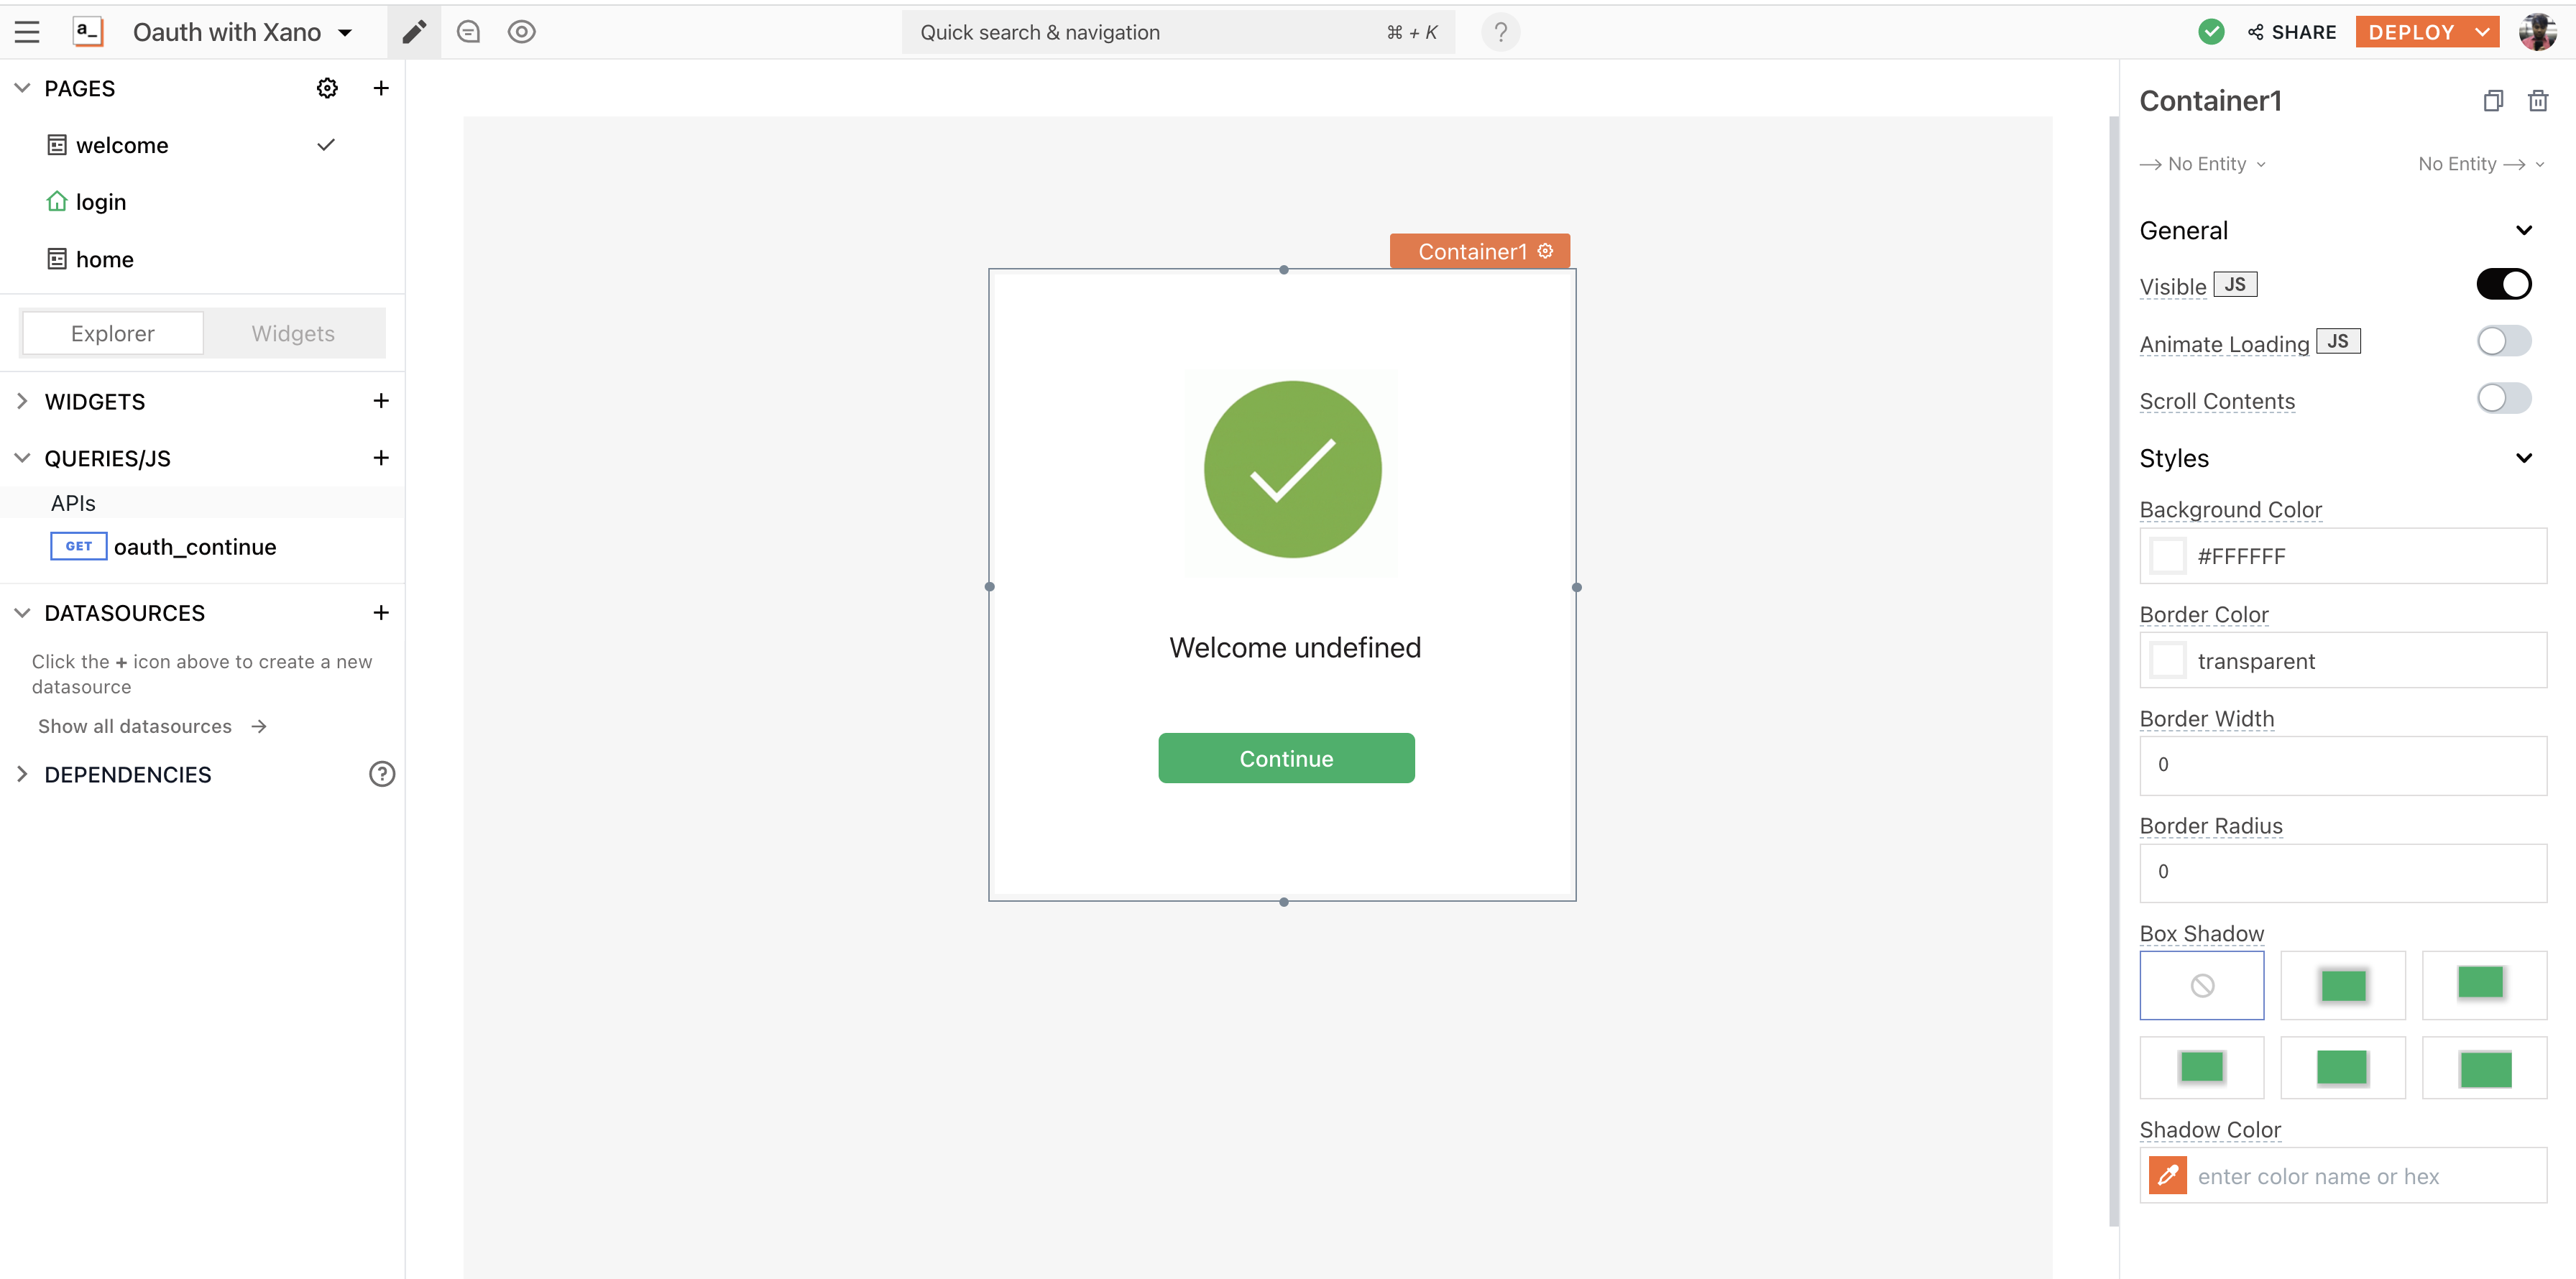
To configure the continue workflow, navigate to the welcome page on Appsmith; this is where the user lands after the initialization is complete. First, let’s design the UI.
- Drag and drop a container widget onto the canvas, just like we did it for the login page.
- Add an image, text widget and a button widget for the look, here’s how I’ve designed it, you could add images and colours of your own choice:
Next, create a new API by clicking on the + icon next to the datasource section and follow the below steps:
- Rename the URL to oauth_continue
- Copy the /oauth/google/continue endpoint from Xano and paste it into the request URL.
This endpoint needs two parameters:
code: which will be queried from the URL queryParams. (accessed from the previous login page after the redirection from google is complete)
- redirect_uri: Same as the Page URL
Now let’s test it out by clicking on the Login button from the login page, and we should successfully see the response on the continue API.
Here’s the GIF:
Awesome, we were now successfully able to finish the authentication process, now let’s bind the data onto the UI with JavaScript.
For this, set the text property on text widget to:
Welcome {{oauth_continue.data.name}}
This will show the username from the Google Account when the user is logged in.
Securing Pages on Appsmith with Xano Auth
To create a secure page on Appsmith with auth add a new page by clicking on the + icon next to the Pages. Next, drag and drop a TAB widget onto the canvas.
Now, open the property pane of the tab widget and rename the Tab names to logedin and notlogedin; under the Default Tab property, paste the following snippet:
{{appsmith.store?.user?.token? 'logedin':'notlogedin'}}
This snippet will show logedin tab when the user has logged in and the notloggedin tab when there is no user. Here's how it works:
This is how we can achieve social authentication on the internal application! To see more details about other social providers, follow the Xano documentation here.
If you’re interested in using a database that is not listed on our website as an integration, please let us know about it by raising a PR on Github and we will do our best to include it at the earliest.
Join our growing community on Discord, and follow us on Youtube and Twitter to stay up to date.


