

A Simple Front-end for Your Redis Datasource

Wrapping your mind around how Redis handles data structures and associations like other non-relational database engines can sometimes be challenging. This is particularly true when Redis is compared to more traditional relational databases with quarantined tables containing multiple rows and columns to house data. However, building UI on top and managing multiple queries on the Redis database is also a complicated process.
With Appsmith, it’s possible to create a fully functional and custom frontend in minutes. A vast array of pre-built UI components, that is, widgets, are available to help you build good-looking applications. Connecting data sources with Appsmith takes a few minutes, and you can quickly build tools on top of the database of your choice.
This blog will teach you how to build a frontend that can connect to Redis as a datasource.
Redis is a NoSQL document database built for automatic scaling, high performance, and ease of application development. While the Redis interface has many of the same features as traditional databases, as a NoSQL database, it differs from them in describing relationships between data objects.
Getting Started: Connecting Redis on Appsmith
On Appsmith, it’s pretty straightforward to establish a connection with any datasource, including Redis.
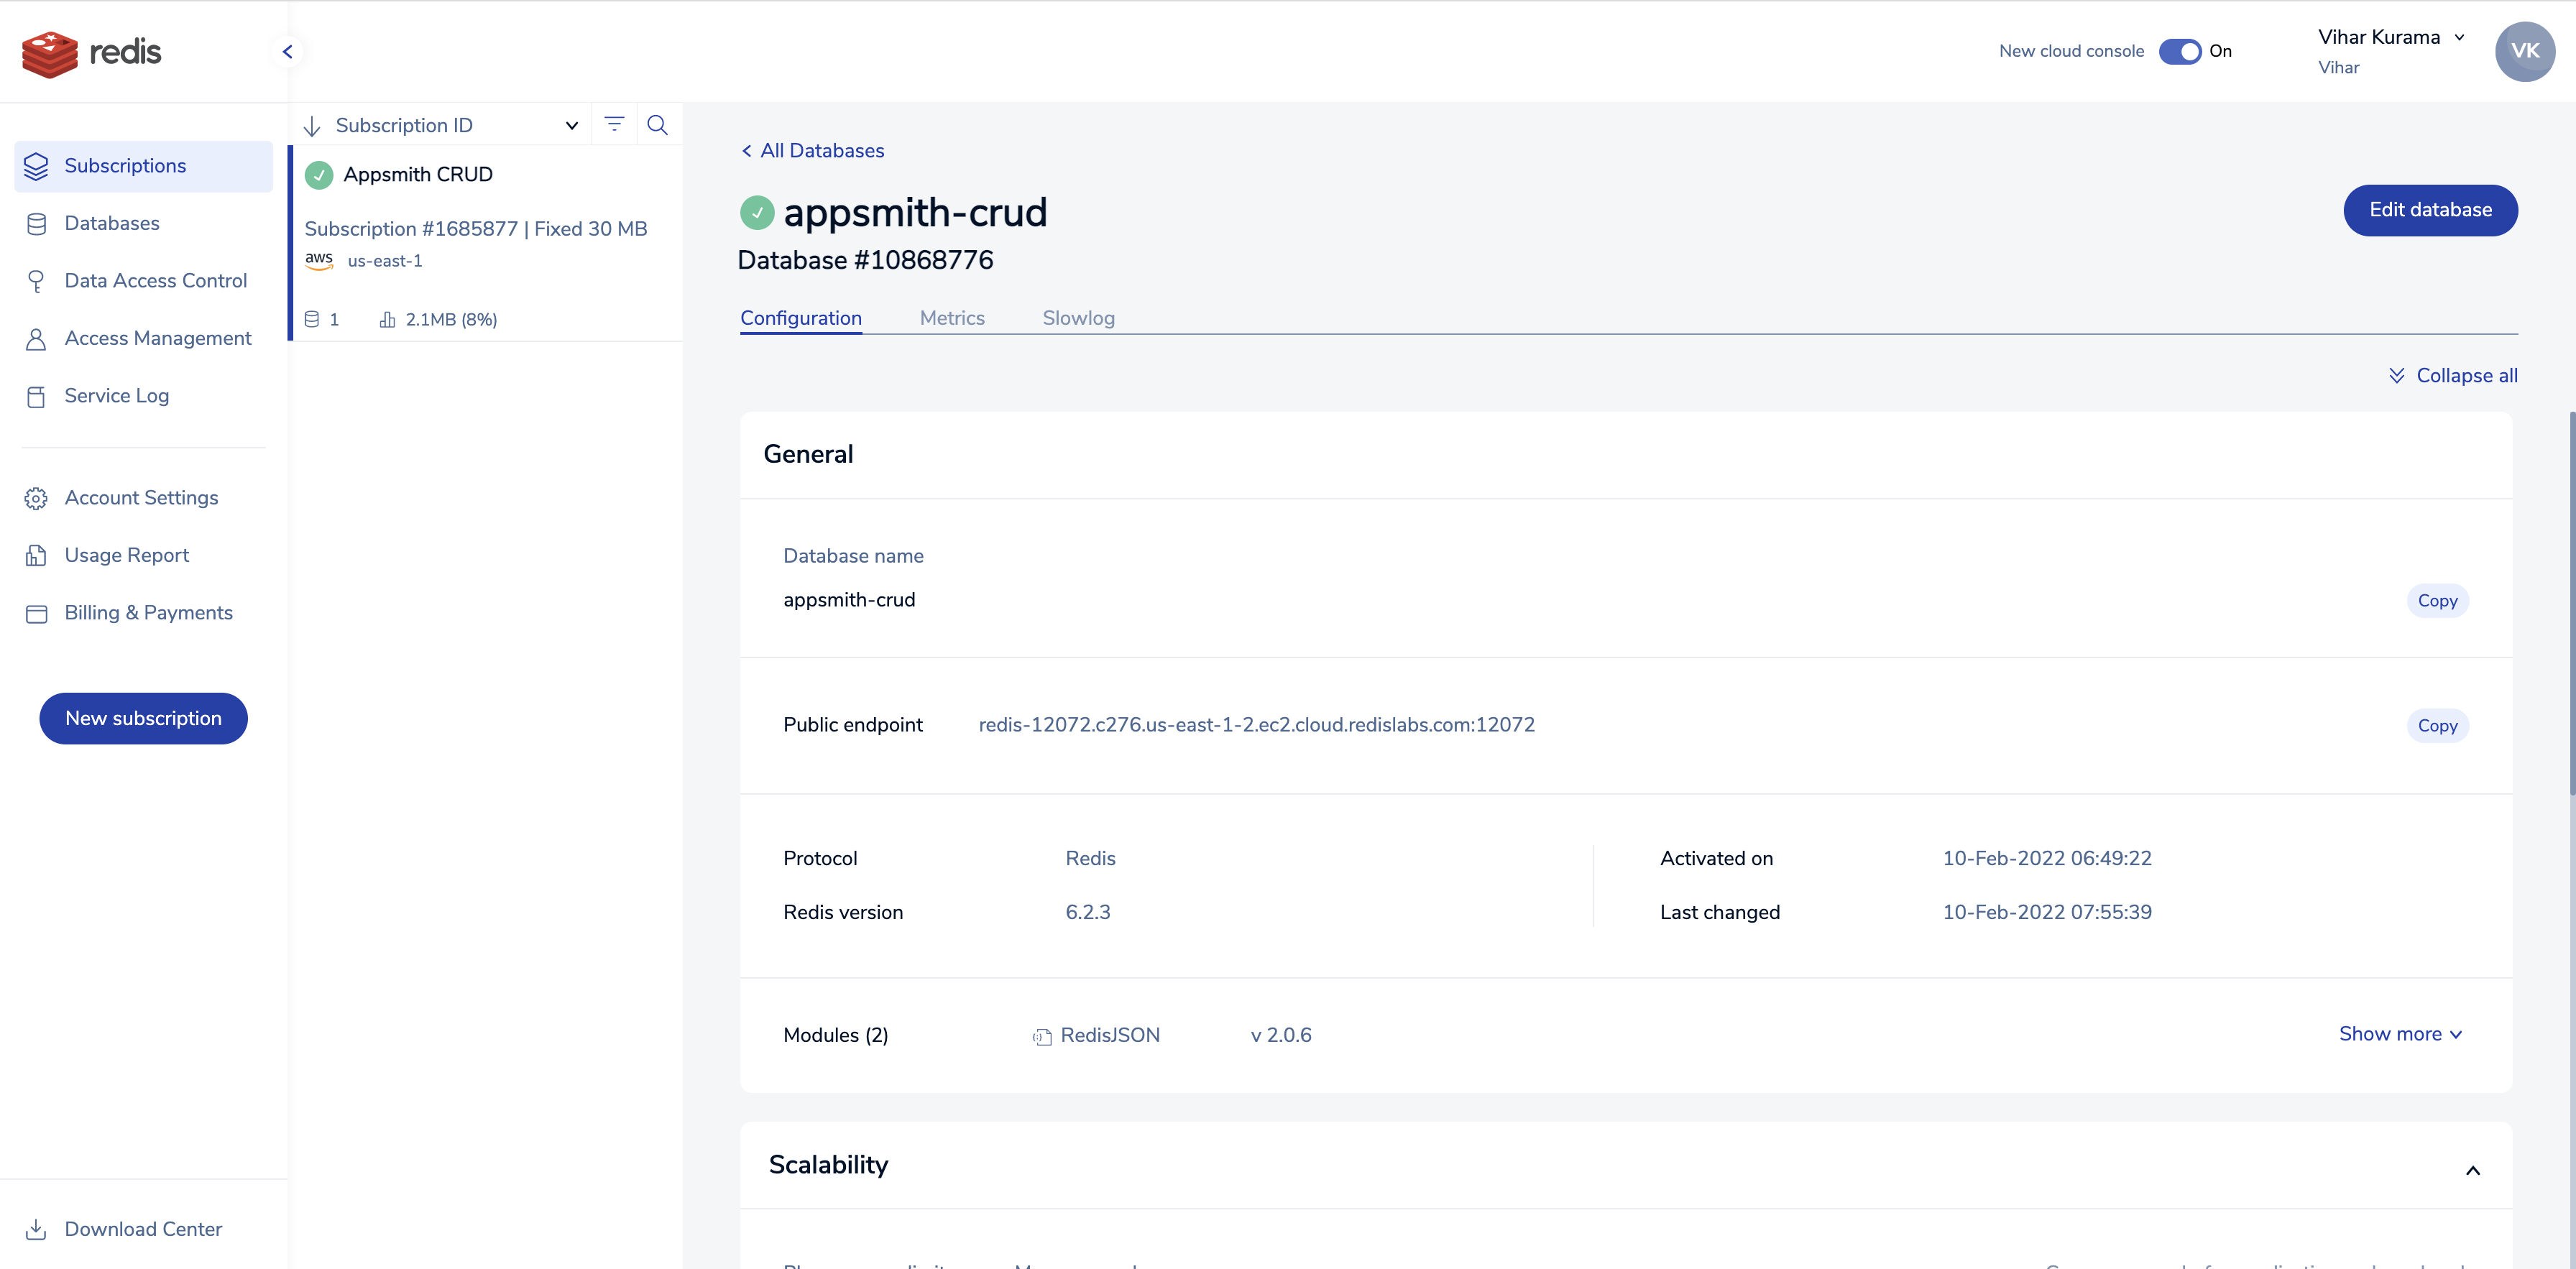
We need to make the connection to the Host Address, Port, and Database password. With this in mind, let’s get started.
- Create a new account on Appsmith (it’s free!), if you are an existing user, log in to your Appsmith account.
- Create a new application under the dashboard under your preferred organization.
- On your Appsmith application, click on the
+icon next to Datasources on the left navigation bar under Page1 - Next, click on the Now, navigate to the Create New tab and choose Redis datasource; you’ll see the following screenshot:
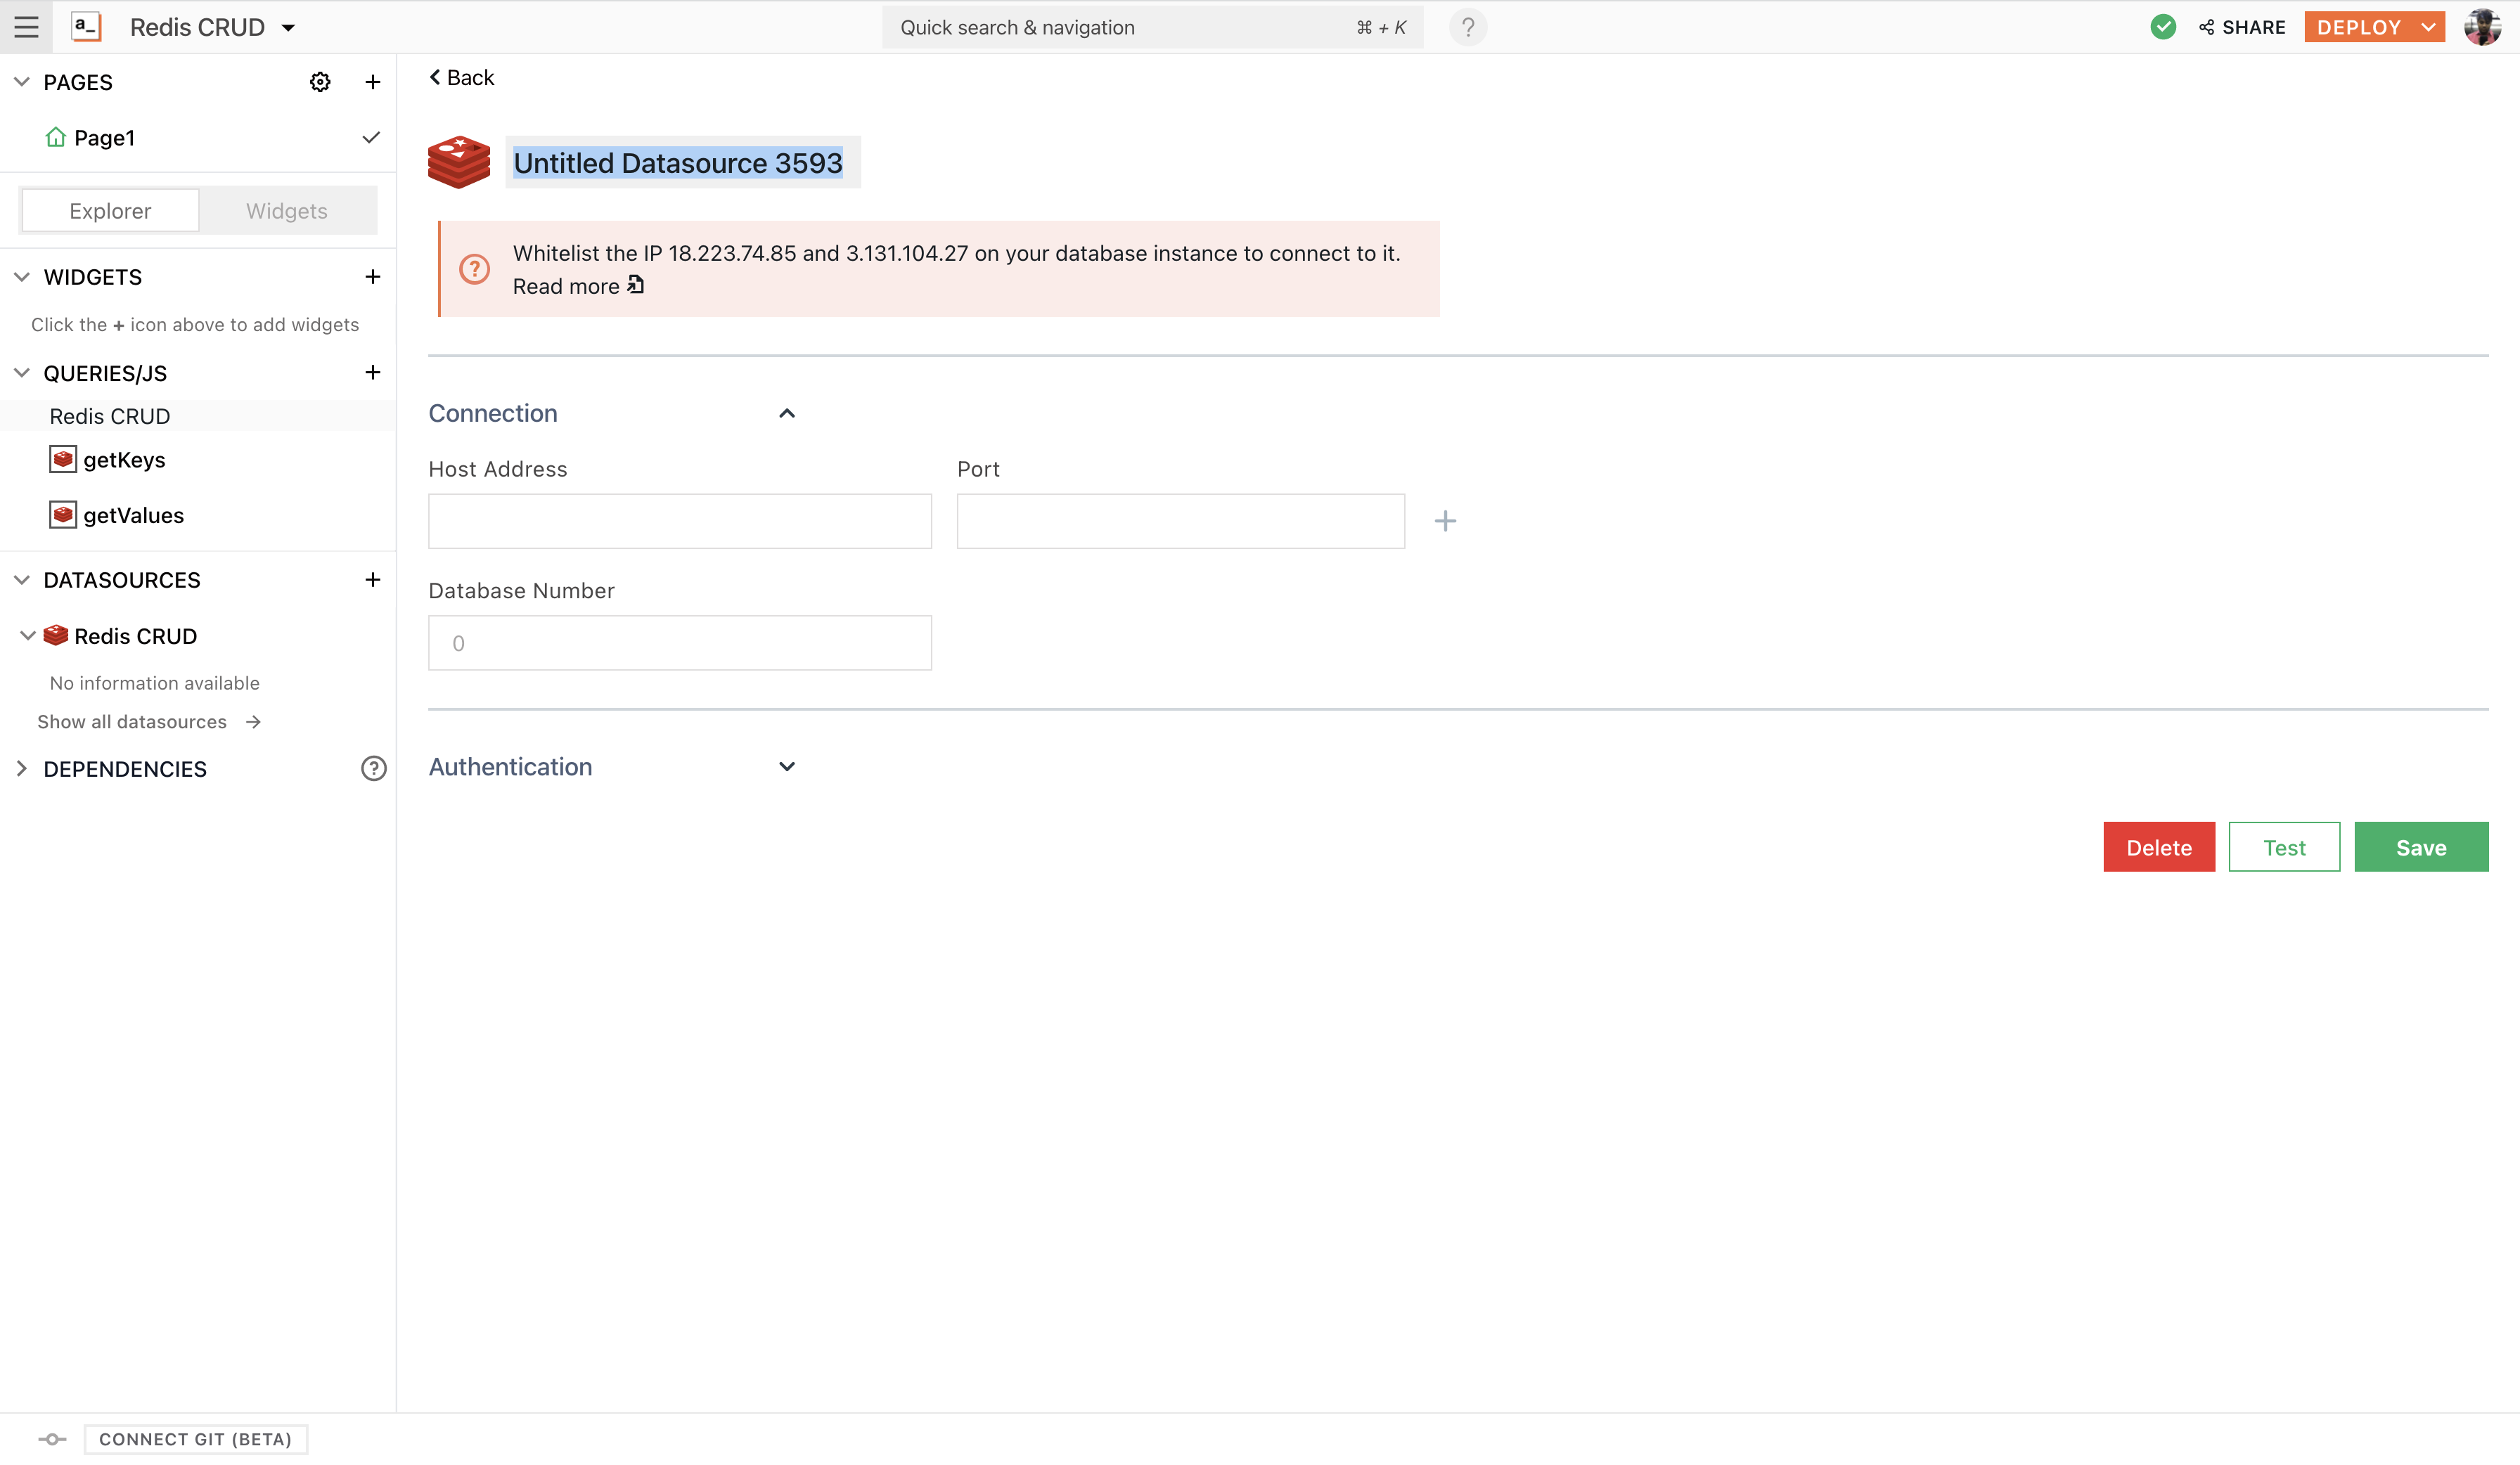
- When using Redis, all these details can be found under the REDIS APP console under project settings.
- Rename the Datasource to Redis CRUD by double-clicking on the existing one.
Here’s what the configuration would look like:
- Next, click on the
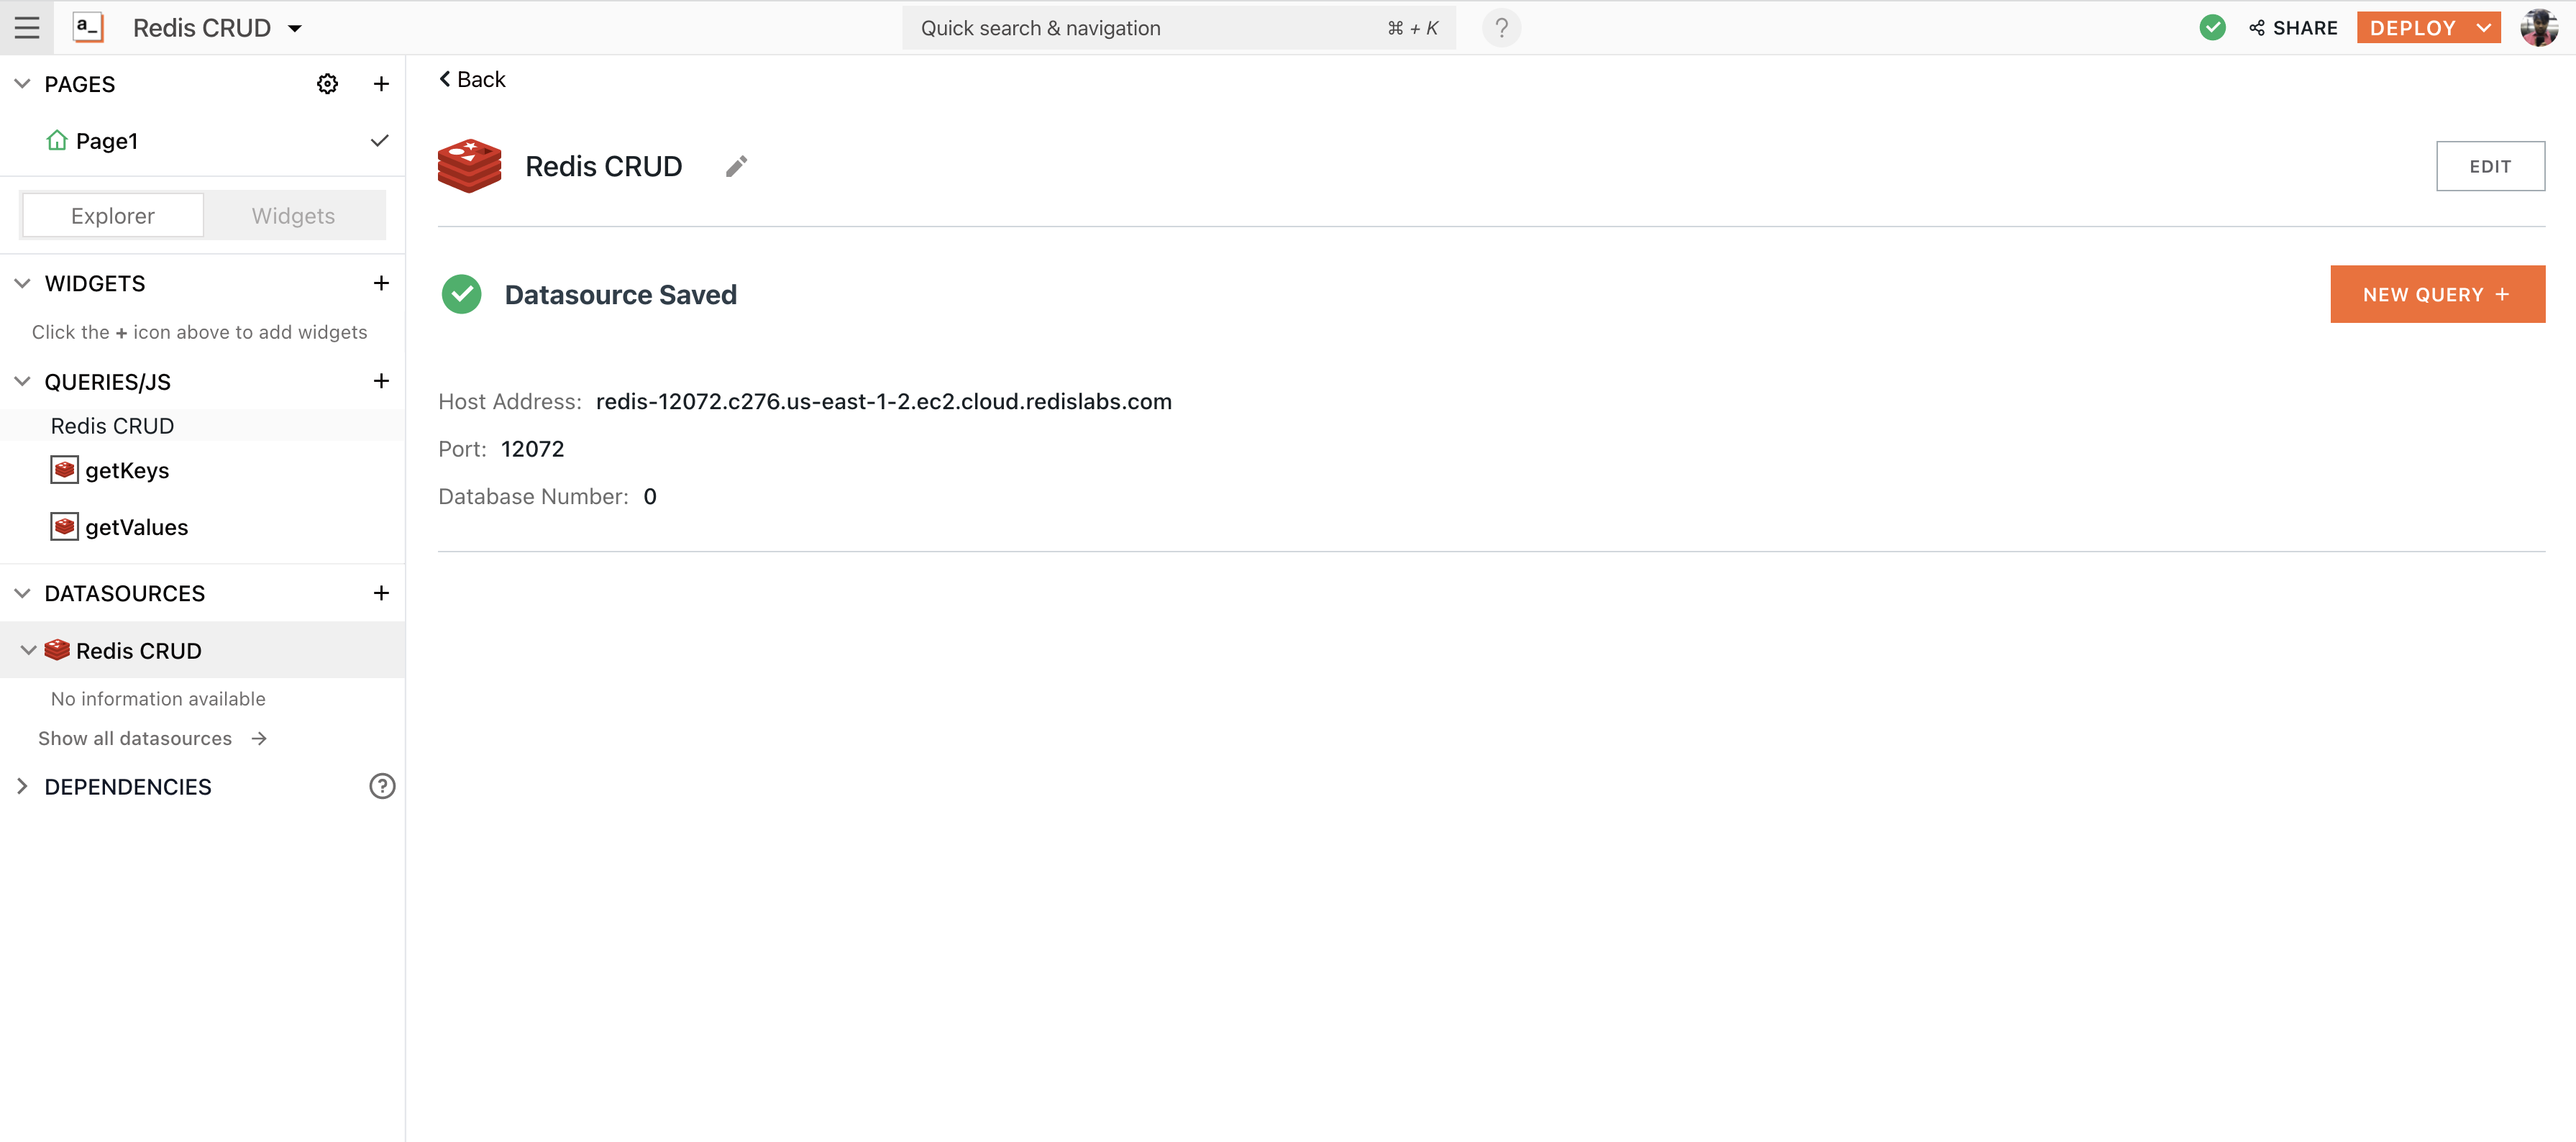
Testbutton at the bottom right of the screen. This will help you with understanding whether your configuration is valid or not. If it returns a successful message, hit theSavebutton to establish a secure connection between Appsmith and Redis.
Creating Key-Values on Redis
We are done with the basic configuration. Now, let’s create some data on Redis and learn a few basic operations on Appsmith.
For the vast majority of data storage with Redis, data will be stored in a simple key/value pair. This can be done using GET and SET commands.
Using GET on Redis
Using this command, we can fetch all the key-value pairs on the Redis datasource. To query this on Appsmith, follow the below steps:
- Click on the + icon next to the datasources and choose to Create New + from the Redis CRUD datasource
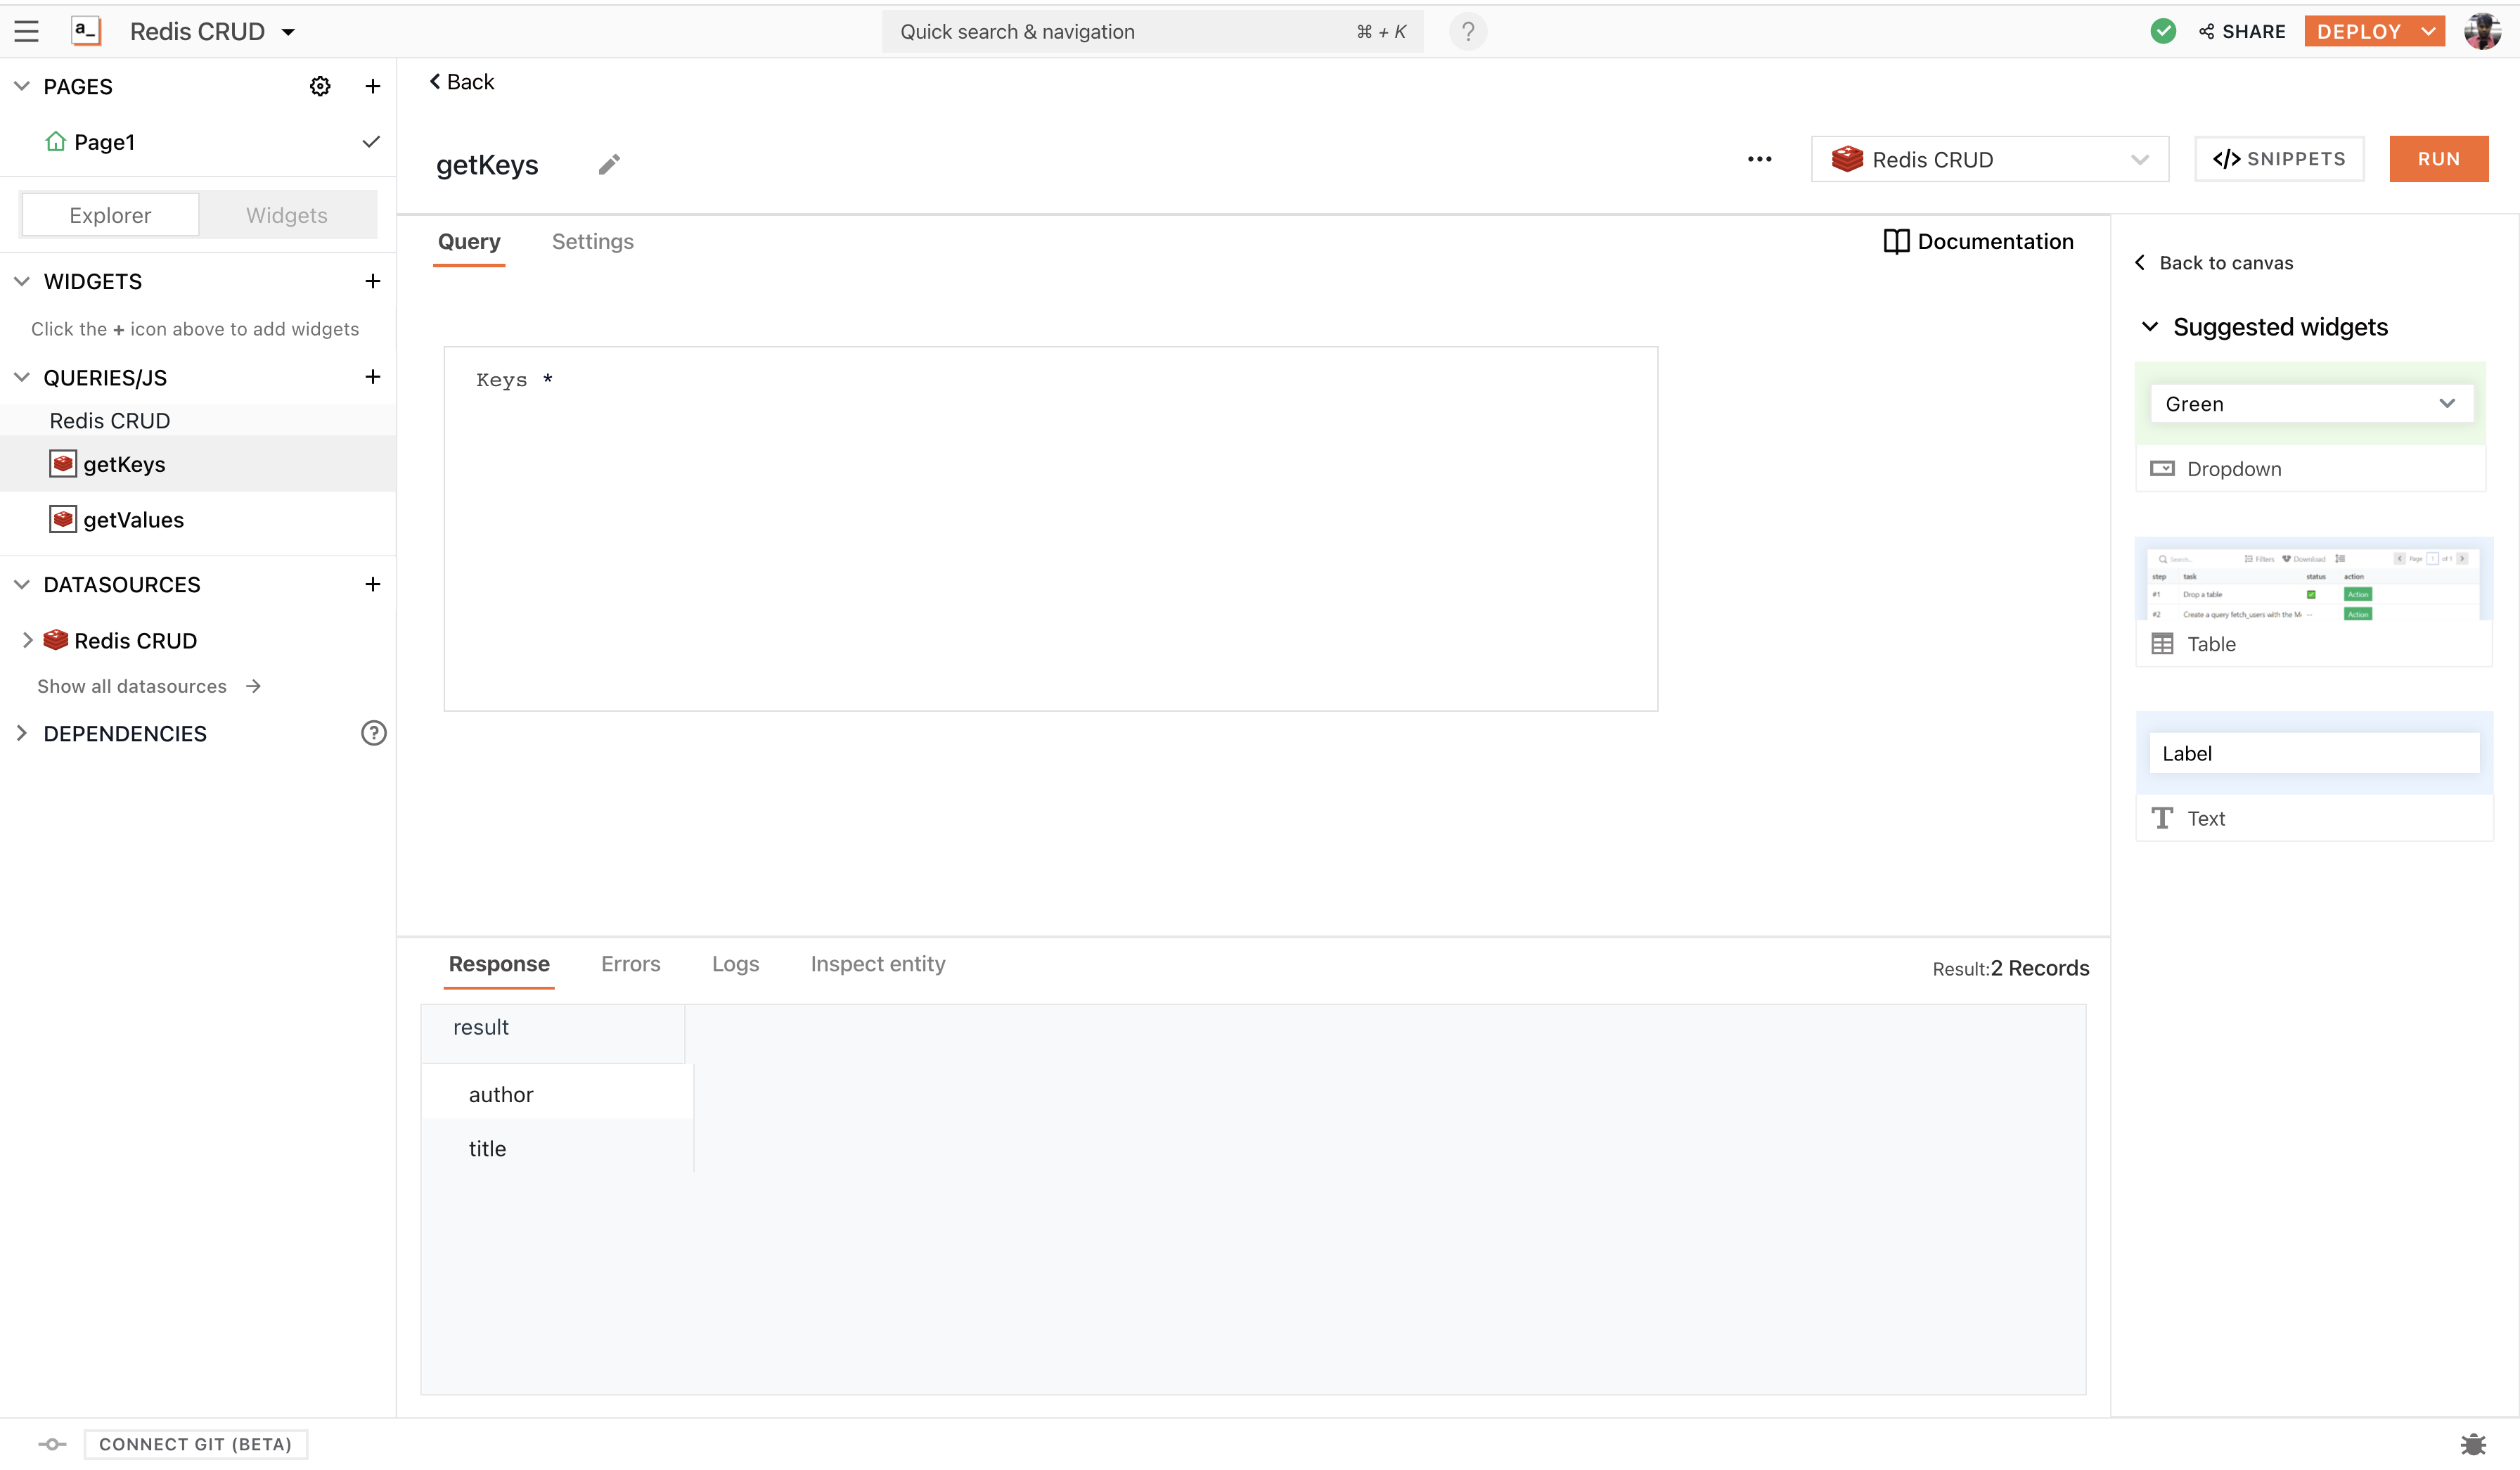
- Rename the query to
getKeys - Paste the following command under the Query tab:
Keys *
This will fetch all the keys from the data source; the following is the screenshot:
You can use this information to bind it on any widget on Appsmith using the moustache operator; in this case, the data from this query can be accessed by the following snippet:
{{ getKeys.data }}
Using SET on Redis
We may want to store some information from our application on Redis, for example, the title and author of a few of our favourite books.
To do this on Appsmith, you can use Input widgets, to collect the data dynamically or directly create it from the query pane. In the following screenshot, I’ve dragged and dropped two input widgets and a button widget to dynamically take inputs and create key-value pairs on Redis datasource.

Next, I've created a new query on the Redis datasource that will dynamically take inputs from the query, for this:
- Click on the + icon next to the datasources and choose to Create New + from the Redis CRUD datasource
- Rename the query to
createKeys - And paste the following command:
SET {{Input1.text}} {{Input2.text}}
Here, we have an insert query that collects all the data from the input widgets we've created. Note that we use the moustache syntax to bind the data from the widgets onto the query body.
With this, we can customize and build any kind of UI on top of the Redis datasource.
If you’re interested in using a database that is not listed on our website as an integration, please let us know about it by raising a PR on Github and we will do our best to include it at the earliest.
Join our growing community on Discord, and follow us on Youtube and Twitter to stay up to date.


